BIENVENIDO A KINGHOME
Obtenga un presupuesto gratuito
Le responderemos en un plazo de 8 horas
BIENVENIDO A KINGHOME
Le responderemos en un plazo de 8 horas
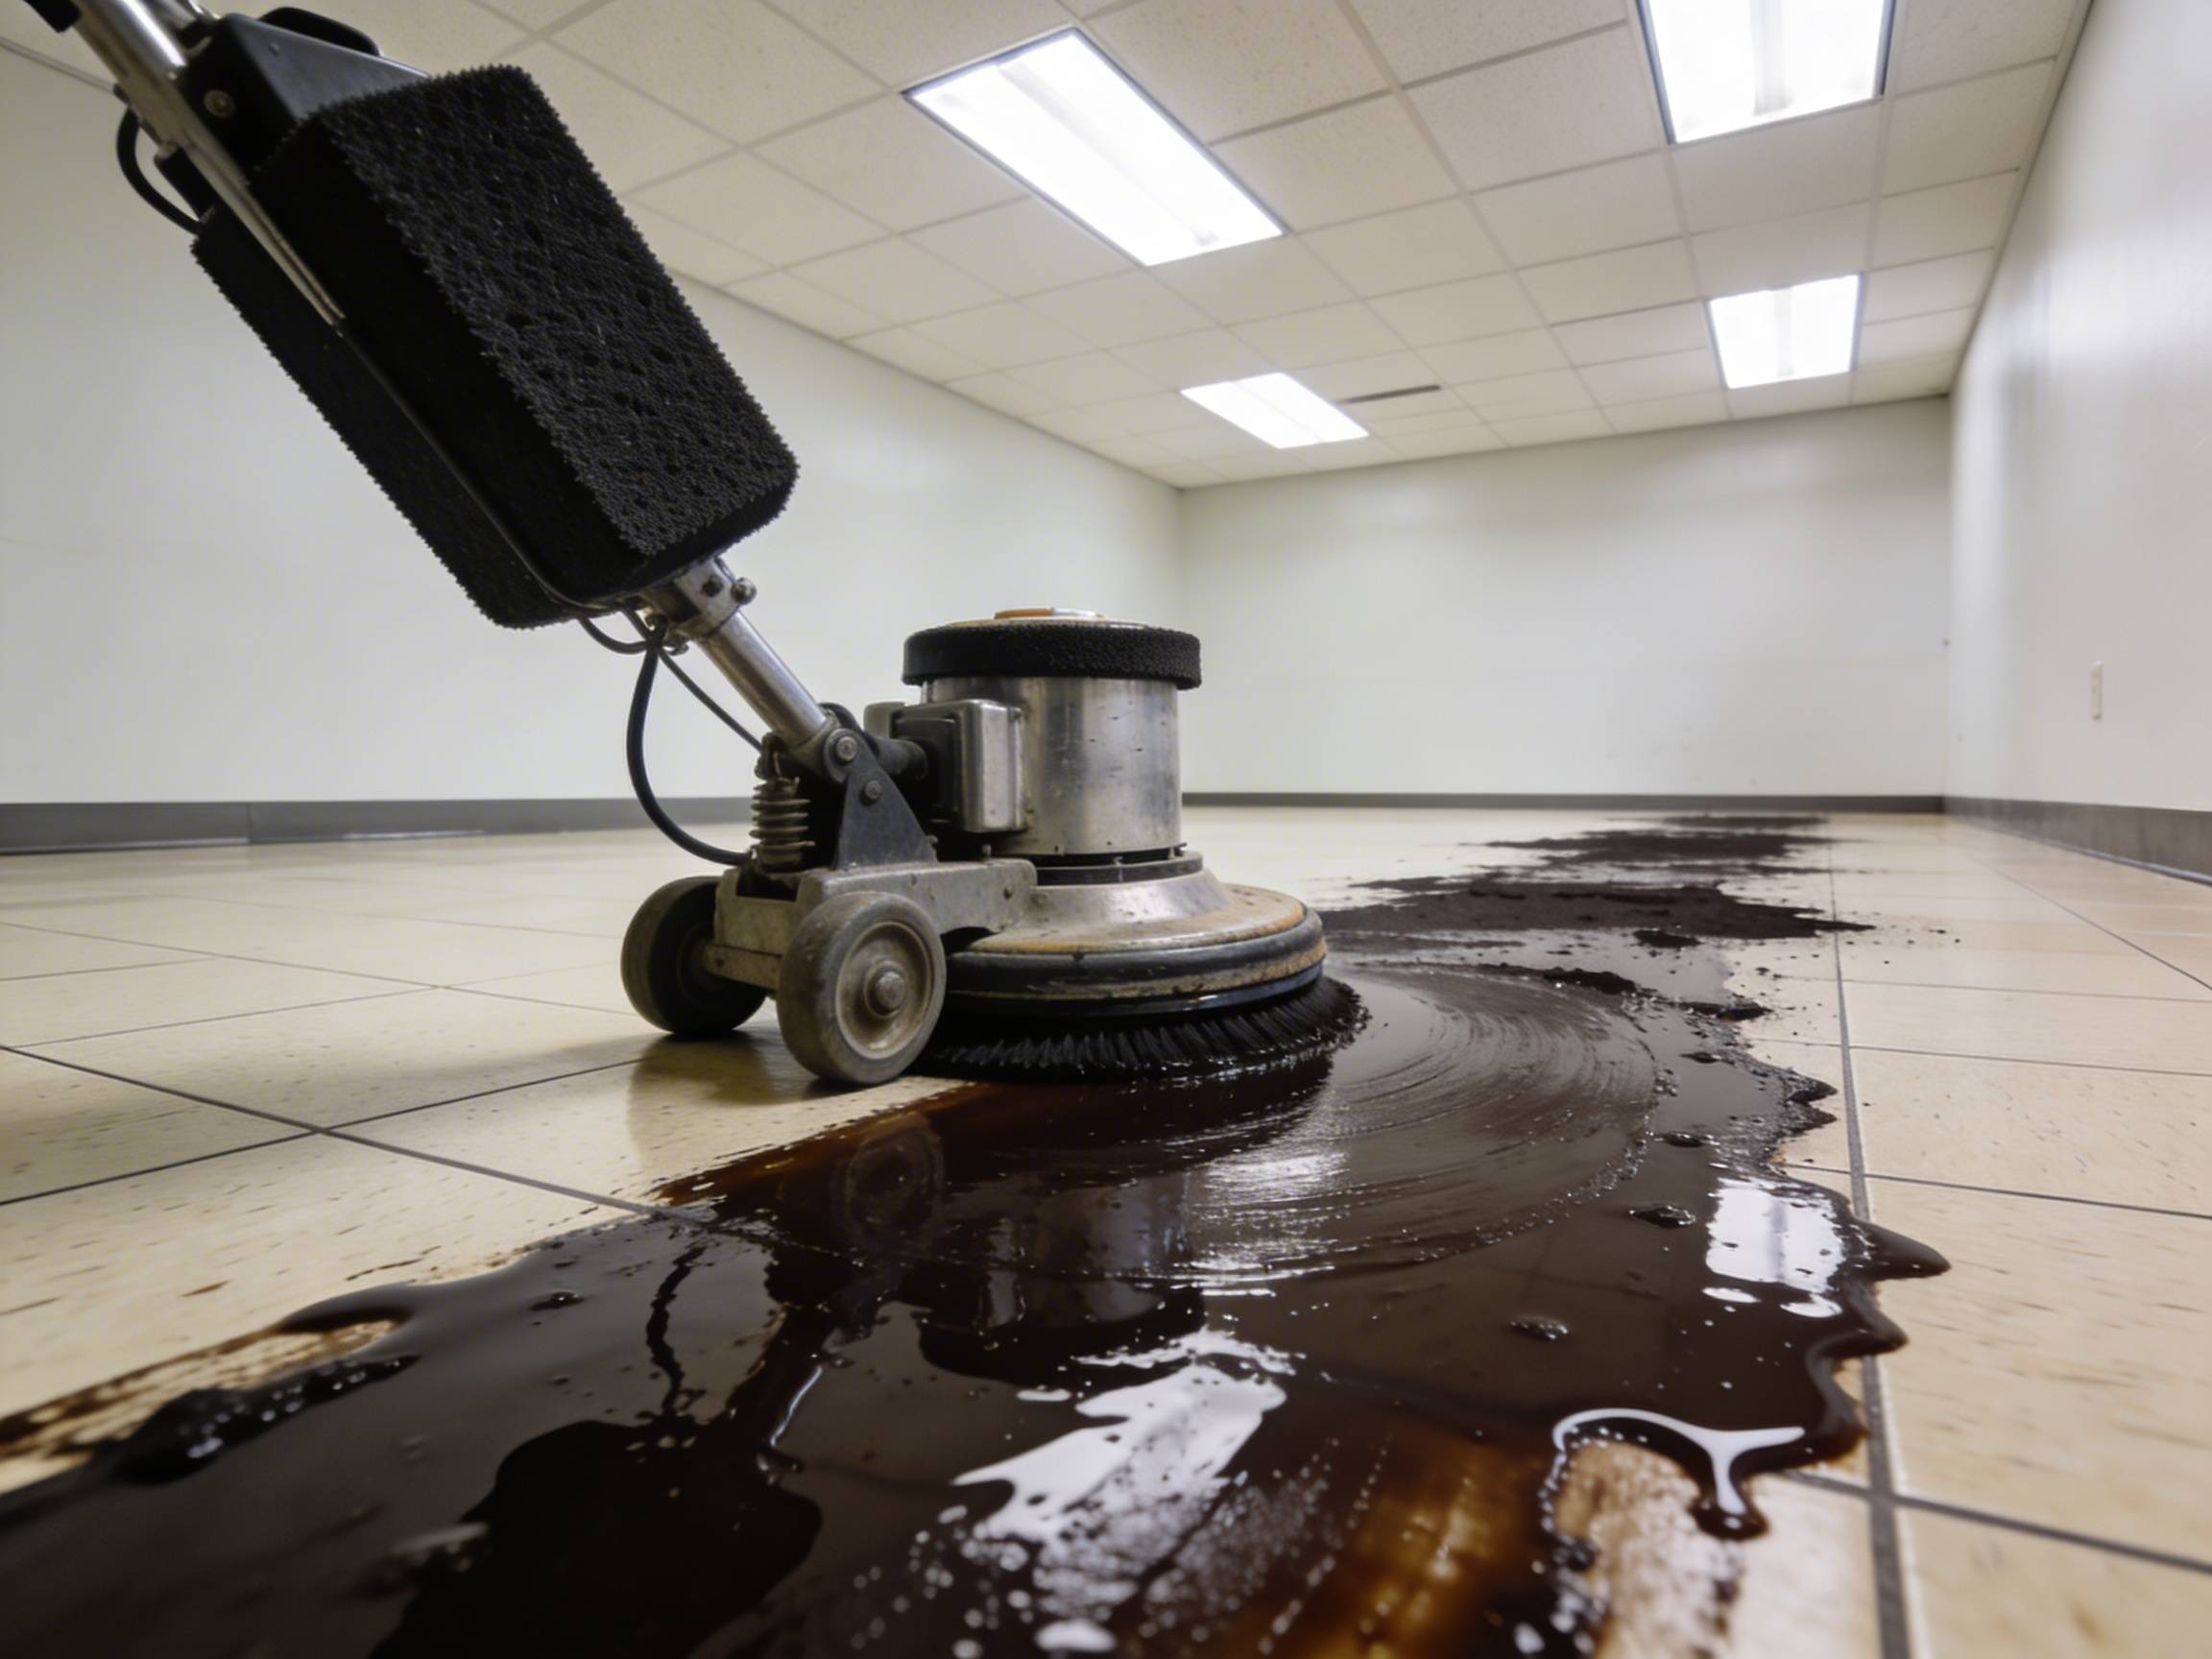
Floor polish and floor wax do not last forever. Both products build up with each application cycle — and when that buildup goes too long without removal, no amount of buffing, mopping, or recoating will restore the finish. The floor needs to be stripped: the existing product layers removed entirely, down to the bare floor surface, before a fresh finish can be applied.
This guide covers the complete stripping process — from recognizing when stripping is genuinely necessary, through choosing the right stripper, running the equipment, and preparing the floor for a clean recoat.

For a full comparison of floor polish and floor wax maintenance requirements, see our floor polish vs floor wax guide.
Not every dull floor needs stripping. The distinction matters: a floor that simply needs burnishing or a maintenance coat is very different from one where the existing finish has degraded beyond recovery. Stripping the wrong floor wastes significant time and labor; missing a floor that genuinely needs it leads to progressive deterioration that becomes harder to reverse.
Strip the floor when you observe the following:
Yellowing or darkening at room edges and corners. Buildup accumulates fastest in low-traffic perimeter zones where buffing machines cannot reach. If the floor color near the walls is noticeably different from the center — darker, more amber, or with visible layer ridges — the finish has exceeded its recovery threshold.
Dull or hazy appearance that burnishing no longer corrects. A high-speed burnisher should restore gloss within minutes on a floor with a viable finish layer. If repeated burnishing produces only marginal, short-lived improvement, the surface layer has oxidized or become contaminated beyond what buffing can address.
Embedded grime that cleaning cannot remove. Over successive application cycles, dirt becomes trapped within the finish layers rather than sitting on top of them. Mopping distributes cleaning solution across the surface but cannot penetrate a degraded, thickened film. When clean floors still look grimy after proper cleaning, the contamination is sub-surface — inside the buildup.
Uneven gloss across the floor field. Patchy, inconsistent sheen — high gloss in some areas, flat or hazy in others — indicates uneven buildup depth. Spot recoating will not resolve this; the variation will intensify with each additional coat.
Visible layer edges or ridges. In doorways, at threshold transitions, or where furniture legs have rested, look closely at the floor surface in raking light. Visible step-edges in the finish — where layers have accumulated unevenly — are a clear indicator that complete removal and restart is the correct course of action.
A tacky or dragging sensation underfoot. A finish that is sticky or pulls at shoe soles, particularly in warm conditions, has degraded chemically. This is more common with wax-based products that have reacted with cleaning agents or floor traffic.

As a general maintenance framework: floor polish benefits from a full strip every 3–6 complete recoat cycles; floor wax every 2–4 cycles. Facilities with very high foot traffic or aggressive cleaning programs reach this threshold faster. See the Common Mistakes section of our floor polish vs wax guide for more on buildup management.
Floor strippers are high-pH alkaline solutions (typically pH 10–13) formulated to dissolve and lift acrylic polymer and wax finishes. They are not interchangeable across floor types — applying the wrong product can damage the floor surface, raise wood grain, or etch finishes that were not intended for removal.
VCT (Vinyl Composition Tile) and LVT (Luxury Vinyl Tile)
Standard commercial floor strippers work effectively on VCT and LVT. Choose a product rated for the finish type you are removing:
Sealed Concrete
Sealed concrete tolerates standard alkaline strippers, but dwell time and dilution require careful calibration — extended contact with high-pH solutions can affect some concrete sealers. A mid-range dilution with a shorter dwell time (8–12 minutes) followed by thorough rinsing is recommended. After stripping, assess the condition of the underlying sealer before applying new finish coats.
Linoleum
Linoleum is pH-sensitive and requires a stripper specifically formulated for the material. Standard high-pH strippers can cause linoleum to swell, crack, or discolor. Verify the product label confirms compatibility with linoleum before use.
Hardwood, Parquet, and Cork
Standard floor strippers should not be used on hardwood, parquet, or cork floors. High-alkalinity solutions raise the wood grain, cause swelling along joints, and can permanently damage the surface. Use a wax-removal product specifically formulated for wood floors, following the manufacturer’s dilution and dwell time instructions precisely, and minimize moisture contact throughout the process.
Natural Stone
Generic floor strippers are not appropriate for marble, granite, travertine, or other natural stone. High-pH solutions can etch stone surfaces and react with calcite in marble. Stone floors should never have standard floor polish or wax applied to them in the first place — if they do, removal requires stone-specific treatments rather than conventional floor strippers. See our professional marble floor maintenance guide for appropriate stone care procedures.

Core equipment:
Safety and protective equipment:
Optional but useful:
Step 1: Prepare and clear the area.
Remove all furniture, equipment, floor mats, and obstacles from the work area. Tape protective film over any wood baseboards or wall surfaces that may be damaged by contact with the stripper solution. Post wet-floor signage to prevent entry during the process.
Step 2: Dry clean the floor.
Sweep or dry-vacuum the entire floor surface to remove loose debris, grit, and dust. Stripping solution applied over dry debris is less effective and introduces contamination into the slurry.
Step 3: Address edges and corners first.
Using a mop or hand-held scrubber, apply stripper solution to the full perimeter of the room — along all walls, into corners, and around any fixed fixtures. These areas accumulate the heaviest buildup and must be manually agitated, as the floor machine cannot reach them. Allow the solution to dwell while you set up the machine.
Step 4: Apply stripper to the main floor field.
Using a mop or pump sprayer, apply the diluted stripper solution generously across the main floor area, working in manageable sections. The floor should be wet and coated — not flooded. Keep the solution from drying; if it begins to dry in a section before you reach it with the machine, re-wet it.
Step 5: Allow dwell time.
Let the solution dwell for 10–15 minutes (or per the product instructions). During this time, the alkaline chemistry is softening and breaking the bond between the finish layers and the floor surface. Do not shorten this step — insufficient dwell time is the most common reason stripping requires multiple passes.
Step 6: Agitate with the floor machine.
Fit the machine with the appropriate stripping pad and work in overlapping passes across the dwell sections. Maintain even, slow machine speed. The stripper solution and dissolved finish will combine into a dark, viscous slurry on the floor surface — this is expected. Work systematically to ensure complete coverage.
Step 7: Pick up the slurry.
Use the wet vacuum to collect the slurry before it dries back onto the surface. Work in the same direction as the machine passes. Prompt pickup is important — dried slurry redeposits dissolved finish onto the floor and partially undoes the stripping work.
Step 8: Rinse — twice.
Mop the stripped area with clean water and pick up the rinse water with the wet vacuum. Repeat this rinse cycle a second time. Stripper residue left on the floor will contaminate the new finish coats, preventing proper bonding and causing premature peeling or cloudiness.
Step 9: Inspect the result.
Once the floor is dry (minimum 30 minutes after final rinse), examine the surface in raking light. A successfully stripped VCT or LVT floor should appear uniformly flat and slightly matte — with no gloss variation, no edge buildup ridges, and no color differential between the field and the perimeter. If any sections remain uneven or show residual finish, repeat Steps 4–8 on those areas with fresh solution before proceeding.
Step 10: Verify pH neutrality before recoating.
Use pH test strips on a damp section of the floor surface. The surface should register neutral (pH 7) or close to it before any new finish is applied. Residual alkalinity from the stripper will inhibit new polish or wax from bonding correctly.
A freshly stripped, clean floor is temporarily more vulnerable than a finished one — the bare surface accepts dirt, scuff marks, and moisture more readily than it will once a new finish is in place. Move efficiently through this final preparation phase.
Allow complete drying before recoating.
The floor must be fully dry — not just surface-dry — before applying the first new coat. Residual moisture beneath the surface causes the new finish to cloud, blister, or peel within hours of application. In normal conditions, two to four hours after the final rinse is the minimum waiting period; in high-humidity environments, wait longer or use fans to accelerate drying.
Inspect and address surface damage.
Stripping removes not just the finish but the visual masking that accumulated layers provided. Scratches, chips, scuff marks, and minor surface irregularities that were concealed by buildup will now be visible. Assess whether any damage requires mechanical or chemical remediation before recoating. On VCT floors, deep gouges that penetrate to the tile substrate will not be corrected by finish coats.
Confirm the floor is free of contamination.
Run a clean white cloth or paper towel across a section of the stripped floor. It should come away clean or with only trace amounts of material. Any visible residue — stripper compound, redeposited slurry, or cleaning agent — requires an additional rinse before finishing.
Recoat promptly.
Bare VCT and LVT floors are unprotected from traffic and absorb dirt quickly at the microscopic level. Apply the first polish or wax coat within 24 hours of stripping wherever possible. If the floor must remain in use before finishing, limit foot traffic and re-clean the surface immediately before the first coat.
Apply finish coats correctly from the start.
Begin with thin, even coats and allow each to dry fully before applying the next. The most common errors after stripping are applying coats too thick (in an attempt to recover gloss quickly) and applying subsequent coats before the previous one has fully cured. Both produce bubbles, cloudiness, and an uneven finish that begins to look like buildup faster than a properly applied finish would.
For detailed application steps, dilution-to-coat ratios, and burnishing schedules, see our floor polish vs floor wax application guide.