BIENVENIDO A KINGHOME
Obtenga un presupuesto gratuito
Le responderemos en un plazo de 8 horas

BIENVENIDO A KINGHOME
Le responderemos en un plazo de 8 horas
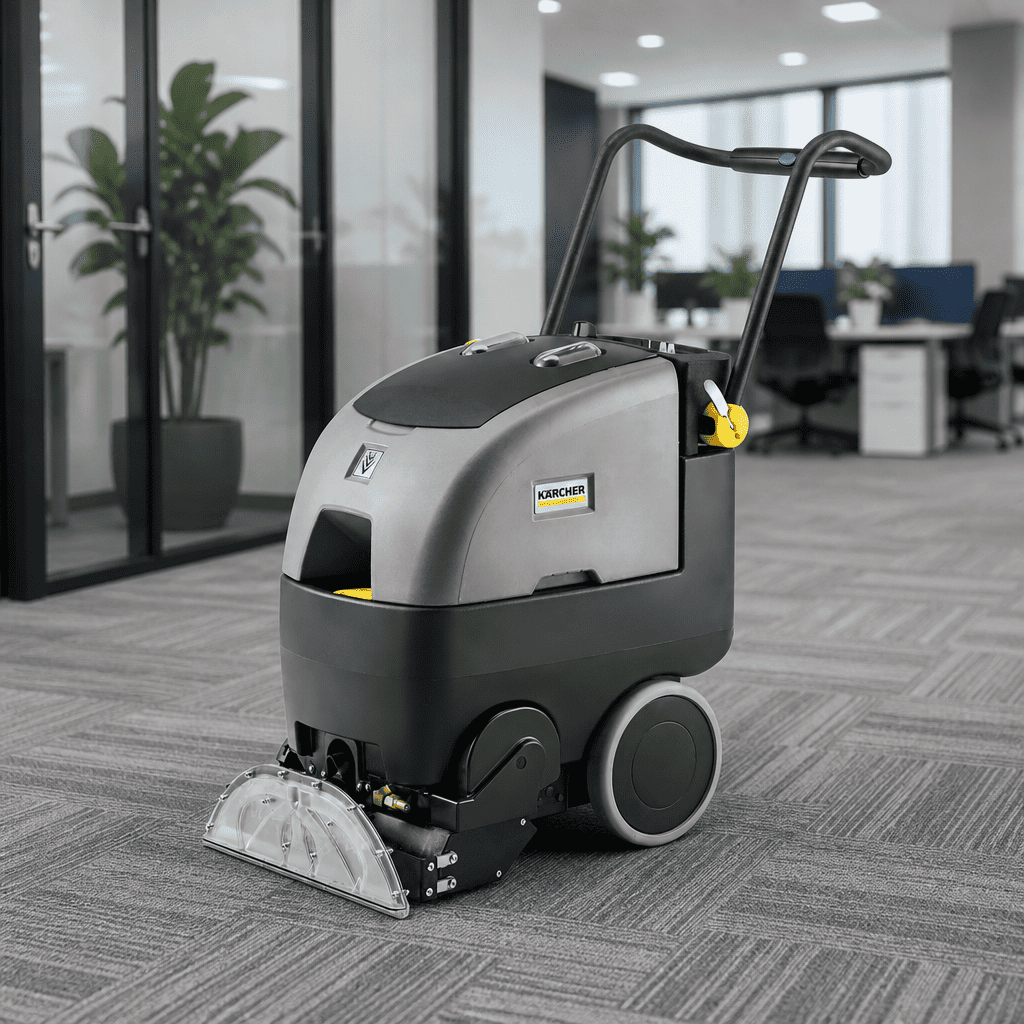
A floor scrubber leaving water trails needs checks along the complete recovery path—not an automatic increase in suction. Inspect the squeegee blades, pickup opening, vacuum hose, recovery-tank seals, tank level and foam. Worn blades, trapped debris, blocked hoses and an improperly closed recovery-tank lid are documented causes of poor water pickup in manufacturer troubleshooting instructions.
First establish whether the trail is liquid left immediately behind the machine or a mark that remains after drying. Photograph the wet pattern before changing settings. A narrow line, a broad wet band and a puddle at a turn provide different starting points, but none proves a particular component has failed.
Restrict pedestrian access before troubleshooting. Use barriers, temporary closures or sectional cleaning that preserves a dry walking route; warning signs alone do not prevent people from entering a wet area. HSE guidance notes that even a thin water film can create a slip risk on a smooth floor.
Before touching blades, removing hoses or opening service-access components, follow the machine’s shutdown and energy-isolation instructions. For example, the Tennant T300 manual requires stopping on a level surface, switching off and removing the key before leaving or servicing the machine, with battery and charger disconnection required for servicing. Apply the instructions for the actual machine and task rather than transferring another model’s procedure.
Use the protective equipment specified by the equipment manual and the cleaning chemical’s label and SDS when handling dirty solution or chemical-contaminated components.
Use the following observations to decide what to inspect first. Treat them as diagnostic leads, not confirmed causes.
| Observed pattern | First checks | Useful comparison |
|---|---|---|
| One narrow line behind the squeegee | Debris beneath the wiping edge, a nick or a locally worn blade section | Does the line remain in the same position relative to the machine? |
| Water mainly on one side | Blade seating, assembly mounting and uneven floor contact | Does the symptom persist on a level, straight section? |
| A broad wet band across the pickup width | Vacuum operation, recovery-tank level, foam, hose connections, restrictions and tank closure | Does poor pickup occur across different floor sections? |
| Water mainly during turns | Turning speed, squeegee tracking and liquid escaping beyond the pickup path | Compare straight travel with left and right turns |
| Water concentrated at joints or transitions | Recessed grout, changes in level and interrupted blade contact | Does the wetness follow the floor feature rather than the machine? |
| Drips while stationary | A possible solution or drain leak, rather than only poor pickup | Follow the manual’s leak-inspection procedure before restarting |
Record the machine model, operating mode, solution-flow setting, travel speed, cleaner and dilution. Include a short video showing the scrub head, squeegee and trail. Keep the operator focused on driving; have another person record from outside the machine’s path.
With the machine safely shut down, remove accessible debris and clean the squeegee as instructed by its manufacturer. Inspect the wiping edge for cuts, embedded grit, rounded wear, distortion and incorrect seating.
Manufacturer troubleshooting guidance identifies worn blades, debris caught in the squeegee and incorrect adjustment as causes of trailing water. Rotate or replace blades only according to the applicable manual; do not assume every blade has the same number of usable edges.
Also inspect the pickup opening and any operator-serviceable debris trap. A clean wiping edge does not establish that the passage behind it is clear.
Check that the assembly is correctly attached and the hose is connected. Where adjustment is provided, use the model-specific method for blade deflection, leveling or caster position.
Do not apply a universal squeegee angle, blade-deflection measurement or “extra pressure” setting. Adjustment mechanisms differ, and another machine’s setting is not a valid specification for yours.
If a blade repeatedly loses contact despite correct setup, record the affected location and refer the mounting, linkage or floor condition for assessment rather than continuing to tighten the assembly.
Inspect the operator-accessible recovery path in a consistent order:
Tennant troubleshooting documents identify disconnected or damaged hoses, blocked hoses, dirty vacuum screens and worn tank-cover seals as potential causes of poor pickup. These checks help separate an airflow restriction or leak from a suspected vacuum-motor fault.
A running motor does not prove that useful suction reaches the squeegee. Conversely, poor pickup does not by itself establish that the motor needs replacement.
Check the selected operating mode as well. On the Tennant T300, for example, the operator manual states that Quiet-Mode slightly reduces water pickup. That is a model-specific characteristic, not a reason to assume every scrubber has an adjustable vacuum setting.
Record whether poor recovery began after changing cleaner, dilution or the area being cleaned. Check the product’s machine-use approval, dosing instructions and compatibility with the installed floor and finish.
Do not add detergent simply to change blade behavior. Some cleaning systems require water-only operation in particular modes. For example, the T300 manual specifies clear water without conventional detergent for its ec-H2O solution-tank operation.
If excessive foam appears, stop and follow the machine’s tank-emptying and cleaning instructions. Check dosing, product selection and possible carryover from previous cleaning chemicals.
Do not rely on a full-tank shutoff to protect the vacuum system from foam. The T300 manual specifically warns that foam buildup will not activate its float shut-off screen and can damage the vacuum motor. Use a foam-control product only where the equipment manufacturer permits it, in the specified location and according to the product instructions.
After correcting accessible recovery faults, test whether the selected flow and travel speed suit the route. Change one permitted setting at a time and record the result.
Do not reduce flow so far that the approved cleaning process becomes ineffective, or increase chemical concentration to compensate for poor recovery. A floor that looks drier but remains soiled is not a successful correction.
Run a small, controlled trial on a representative area using the approved cleaner and floor-compatible brush or pad. Follow the equipment and flooring suppliers’ requirements before extending a changed setup to the full route.
Compare:
Reduce speed when turning as instructed by the machine manual; do not deliberately tilt the machine or force the squeegee against the floor to improve contact. The T300 manual, for example, explicitly instructs operators to reduce speed when turning.
Keep material and surface condition distinct. Polished natural stone, textured porcelain, cementitious terrazzo, resin terrazzo and coated concrete should not automatically receive the same chemical, brush or pad setup. For broader equipment-selection checks, consult KINGHOME’s floor scrubber buying guide.
If liquid remains mainly in recessed joints or beyond the pickup path, plan a compatible supplementary recovery method rather than repeatedly flooding the area. If a mark remains after the surface has dried, investigate residue or surface condition separately; a persistent white line is not proof of a vacuum fault.
Repeat the same representative route after each correction. Keep the cleaner, dilution, route and observation conditions consistent so that the result can be compared meaningfully.
Check immediately behind the machine and again after drying:
Record the elapsed drying time under the actual site conditions rather than assigning a universal reopening time. Keep access restricted while the floor remains wet; photographs or a dry-looking reflection do not establish slip resistance. HSE recommends leaving smooth floors dry after cleaning or excluding pedestrians until they are dry.
Stop using the machine and arrange qualified service if poor recovery continues after the permitted operator checks, or if there is a damaged hose, defective seal, recurring fault indication, abnormal motor behavior or a leak requiring repair. Do not bypass tank-protection devices or dismantle electrical components to complete the route.
Give the service provider the model and serial number, fault codes, blade photographs, tank and foam observations, and straight-versus-turning test videos. Include the settings and cleaner details so the technician can distinguish a component fault from a setup or application problem.
For a KINGHOME equipment or cleaner-suitability enquiry, provide the same records together with the floor material, finish and affected route. Use the enquiry form on the KINGHOME website to request a review of the relevant equipment, consumables or product documentation without assuming that a stronger chemical or larger vacuum will resolve the cause.
 Spanish
 English