BIENVENIDO A KINGHOME
Obtenga un presupuesto gratuito
Le responderemos en un plazo de 8 horas

BIENVENIDO A KINGHOME
Le responderemos en un plazo de 8 horas
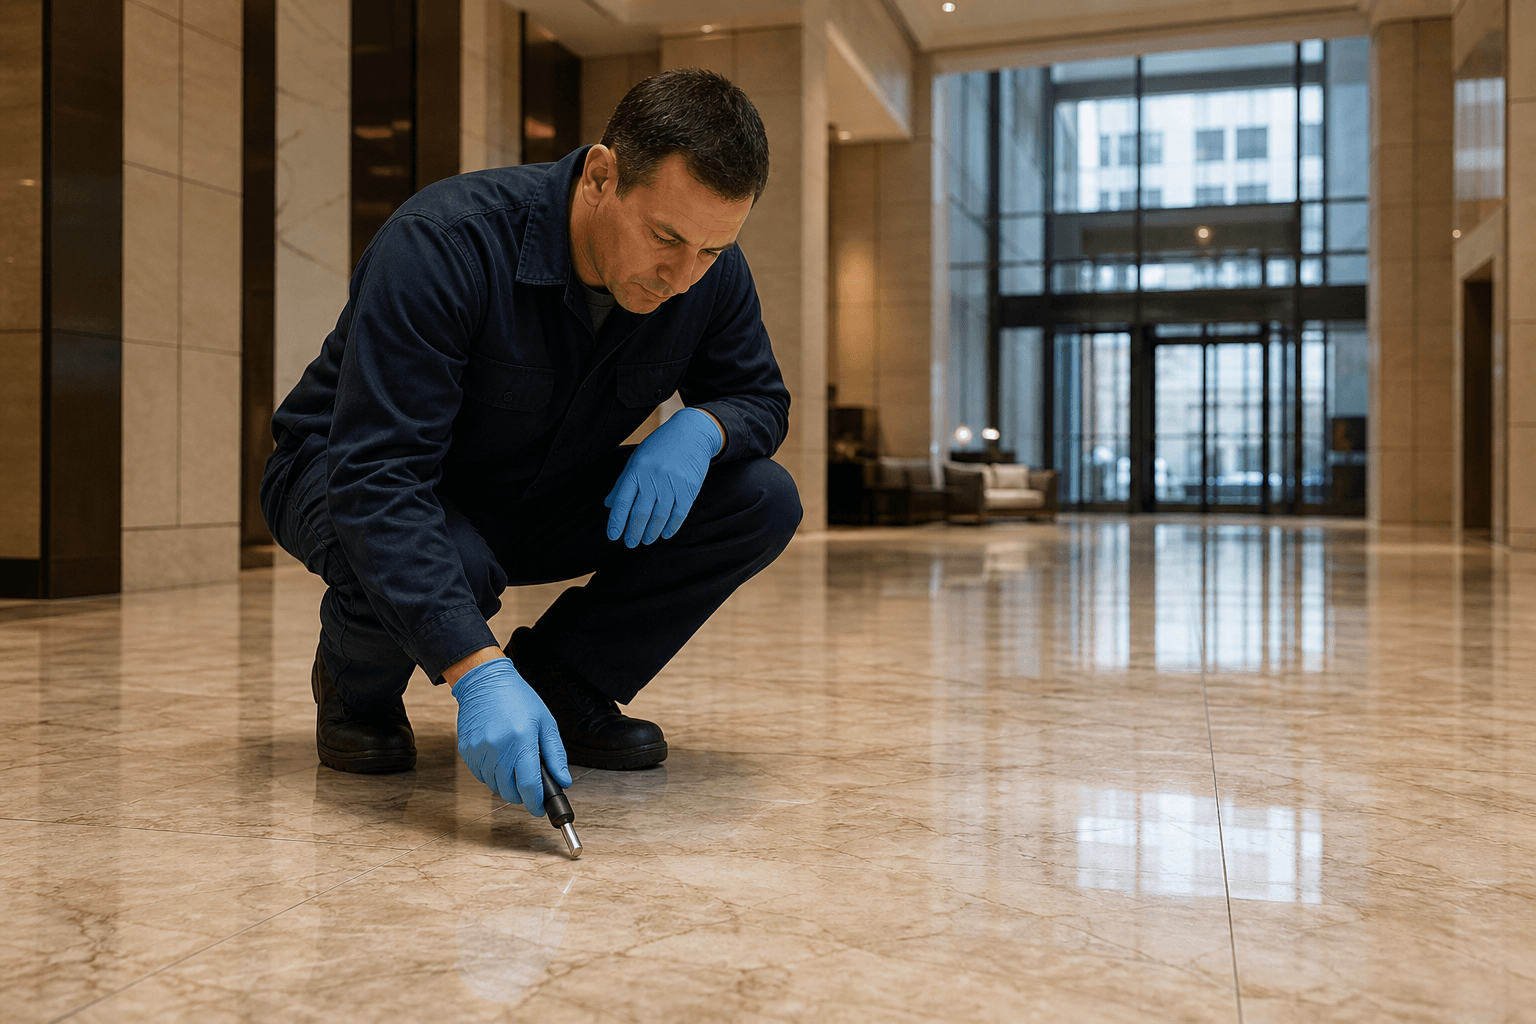
Stone hollowing happens when a marble, granite, or natural stone slab loses full support from the setting bed below. The floor may sound hollow when tapped, move slightly under load, crack at joints, or develop recurring moisture and powder around the same area. Professional repair starts with inspection and stabilization, not polishing or surface protection.
Hollow stone is a structural and installation problem. It can appear in commercial lobbies, hotels, shopping centers, office buildings, residential entrances, and stone renovation projects. A protective treatment can improve moisture resistance or stain resistance after repair, but it cannot make an unstable slab secure.
This guide explains how to identify hollowing, what causes it, when injection adhesive may be appropriate, and how to connect slab repair with the broader stone floor protection system.
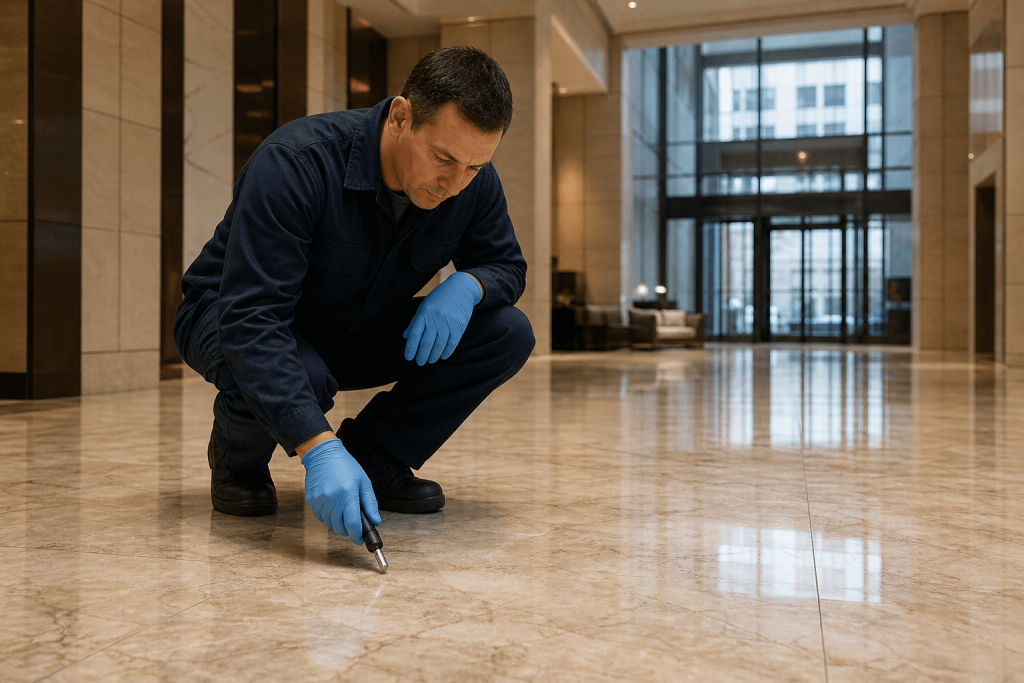
Stone hollowing means there is a void, weak bond, or separation between the stone slab and the supporting layer below. The surface may still look normal, but part of the slab is no longer fully supported.
The most common sign is a hollow sound when the floor is tapped with a suitable inspection tool. A solid area gives a tight sound. A hollow area gives a lower, drum-like sound. The sound test is only a first indicator; it should be followed by visual inspection and site diagnosis.
Hollowing can affect:
If a hollow area is small and stable, it may be monitored or repaired locally. If the slab moves, cracks, lifts, or carries heavy traffic, the risk is higher.
Hollowing is not always obvious. Some floors look clean and polished while the bond below is already failing.
| Sign | What It May Mean |
|---|---|
| Hollow sound when tapped | Void or bond separation under the slab |
| Cracked grout or joint lines | Movement at slab edges |
| Repeated white powder near the same joint | Moisture movement through a weak area |
| Dark damp patches that return | Water trapped below or moving upward |
| Slab edge lifting | Loss of support or expansion pressure |
| Slight movement under load | Unstable slab requiring urgent inspection |
| Cracking after polishing or traffic | Stress from unsupported stone |
A single sign does not prove the full cause. For example, white powder may be stone efflorescence, while a hollow sound may come from a void. When both appear together, moisture and bond failure may be connected.
Stone hollowing usually comes from one or more installation, moisture, movement, or material problems.
If the mortar, adhesive, or setting material did not fully contact the slab, voids may remain from the beginning. This is more likely with large-format slabs, uneven substrates, poor trowel coverage, or rushed installation.
Concrete, screed, and other substrates can shrink, crack, or move. When the supporting layer changes, the stone may lose contact in some areas.
Moisture can weaken some setting materials, carry salts, or create repeated expansion and drying cycles. If moisture is moving upward, hollowing repair should be coordinated with waterproofing natural stone floors or moisture-control work.
Entrances, outdoor stone, and large sun-exposed areas may experience temperature swings. Heavy rolling loads, carts, and equipment can also stress weakly bonded slabs.
Sometimes a surface finish is applied over a floor that should have been stabilized first. Polishing, crystallization, or coating cannot correct a void under the slab. The surface may look better temporarily, but cracks and movement can return.
Stone hollowing should be mapped and diagnosed before injection, lifting, grinding, or replacement is selected. A hollow sound can reflect bonding gaps, substrate movement, moisture, or an edge and joint problem, so the repair path should match the evidence rather than the sound alone.
| Inspection signal | Likely direction | Evidence to collect | Risk to avoid |
|---|---|---|---|
| Isolated hollow sound with stable joints | Map the void and confirm tile/stone stability before considering a localized repair. | Sound map, edge condition, joint width, movement, and accessible underside or substrate evidence. | Drilling or injecting without locating the full affected area. |
| Hollow sound plus cracked grout or moving edges | Investigate movement and joint failure before surface restoration. | Crack pattern, joint condition, load history, transitions, and repeat movement. | Polishing or sealing over an unstable installation. |
| Hollowing near damp or exterior zones | Check moisture and drainage before selecting adhesive, grout, or replacement materials. | Moisture readings, drying behavior, slope, drainage, and weather exposure. | Closing a moisture path and causing the defect to return. |
| Large connected hollow area | Review substrate flatness, bonding coverage, installation history, and whether localized repair is enough. | Area map, tile size, substrate condition, adhesive coverage, and movement joints. | Treating a system-level installation problem as one small spot repair. |
For a repair review, record the stone or tile type, size, joint condition, hollow map, movement, moisture, installation age, and finish requirements. Related references include adhesive contamination prevention, tile joint height diagnosisy stone floor maintenance diagnosis.
A professional inspection should answer three questions:
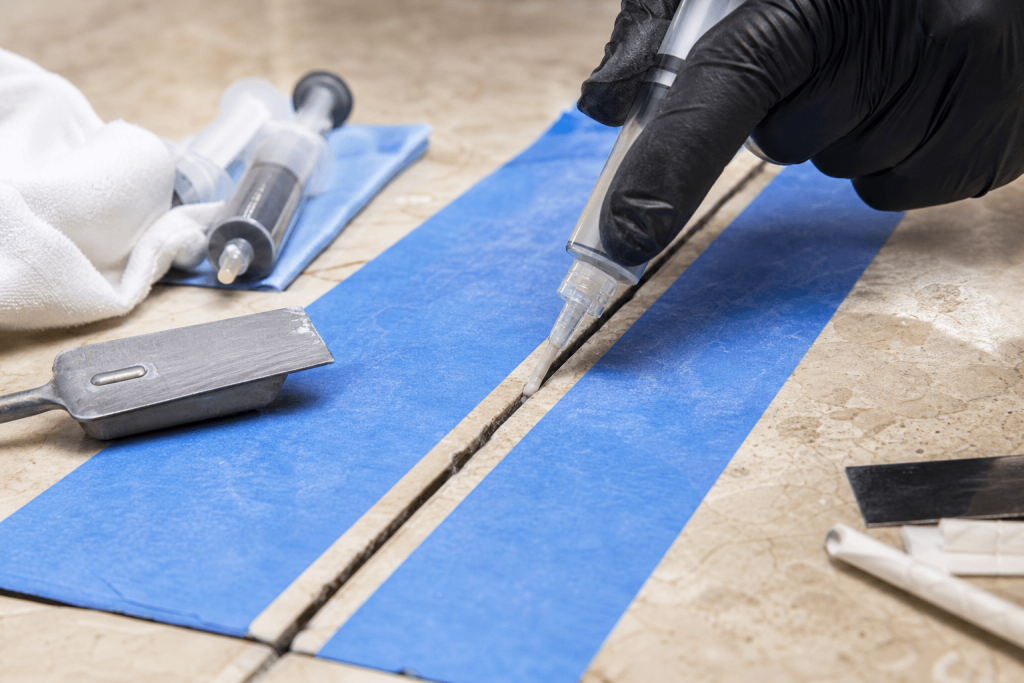
Tap and mark the boundary of the hollow sound. Record whether it is isolated or connected to nearby joints, cracks, doorways, drains, or wet areas.
Do not rely only on sound. A hollow slab that does not move may be lower risk than a slab that flexes under traffic. Any visible movement needs careful evaluation before repair.
Cracked grout, open joints, and lifted edges may show that the slab is moving or that moisture is entering below.
Look for damp marks, recurring efflorescence, outdoor exposure, recent cleaning, or leakage. If moisture is active, injecting adhesive without moisture control may not last.
A hollow area in a low-traffic corner is different from one in a hotel entrance, shopping mall corridor, or equipment pathway. Load affects repair choice.
Injection repair can help when the slab is mostly intact, the void can be reached, and the stone can be stabilized without lifting the whole slab. A product such as stone hollowing adhesive may be considered after inspection confirms that the slab is suitable for injection repair.
Injection repair may be appropriate when:
Injection repair is not always the right answer. If the slab is severely loose, contaminated below, badly cracked, or affected by continuing movement, removal and resetting may be safer.
The exact method depends on the adhesive, slab, and site. Always follow the product instructions and Safety Data Sheet.
| Stage | Professional Action | Purpose |
|---|---|---|
| Mapping | Mark hollow boundaries | Avoid blind injection |
| Surface protection | Protect stone finish and nearby joints | Reduce cleanup risk |
| Access planning | Decide injection points | Reach the void with minimum disturbance |
| Adhesive injection | Inject compatible repair material | Fill void and improve support |
| Pressure control | Avoid overfilling or lifting slab | Prevent new stress |
| Curing | Keep traffic off the area | Allow adhesive to develop strength |
| Verification | Re-tap and inspect area | Confirm support improved |
| Finish repair | Clean residue and restore surface | Return floor to service |
The repair team should avoid forcing too much material into a void. Excess pressure can lift the slab, push adhesive into unwanted areas, or create cleanup problems.
Hollowing repair belongs before most surface treatments. If the slab is unstable, applying waterproofing, anti-efflorescence treatment, polish, or coating may hide the symptom while the floor continues to move.
After stabilization, the floor can be evaluated for:
This order matters. A stable stone floor can be protected. An unstable stone floor needs repair first.
Adhesives and repair chemicals may contain reactive components. Workers should review the product Safety Data Sheet before use, wear the specified personal protective equipment, ventilate the work area where required, and keep bystanders away during application and curing.
That makes SDS review, chemical labeling, and worker training part of a professional repair workflow, not an afterthought.
 Spanish
  English