WELCOME TO KINGHOME
Get A Free Quote
We will get back to you within 8 hours

WELCOME TO KINGHOME
We will get back to you within 8 hours
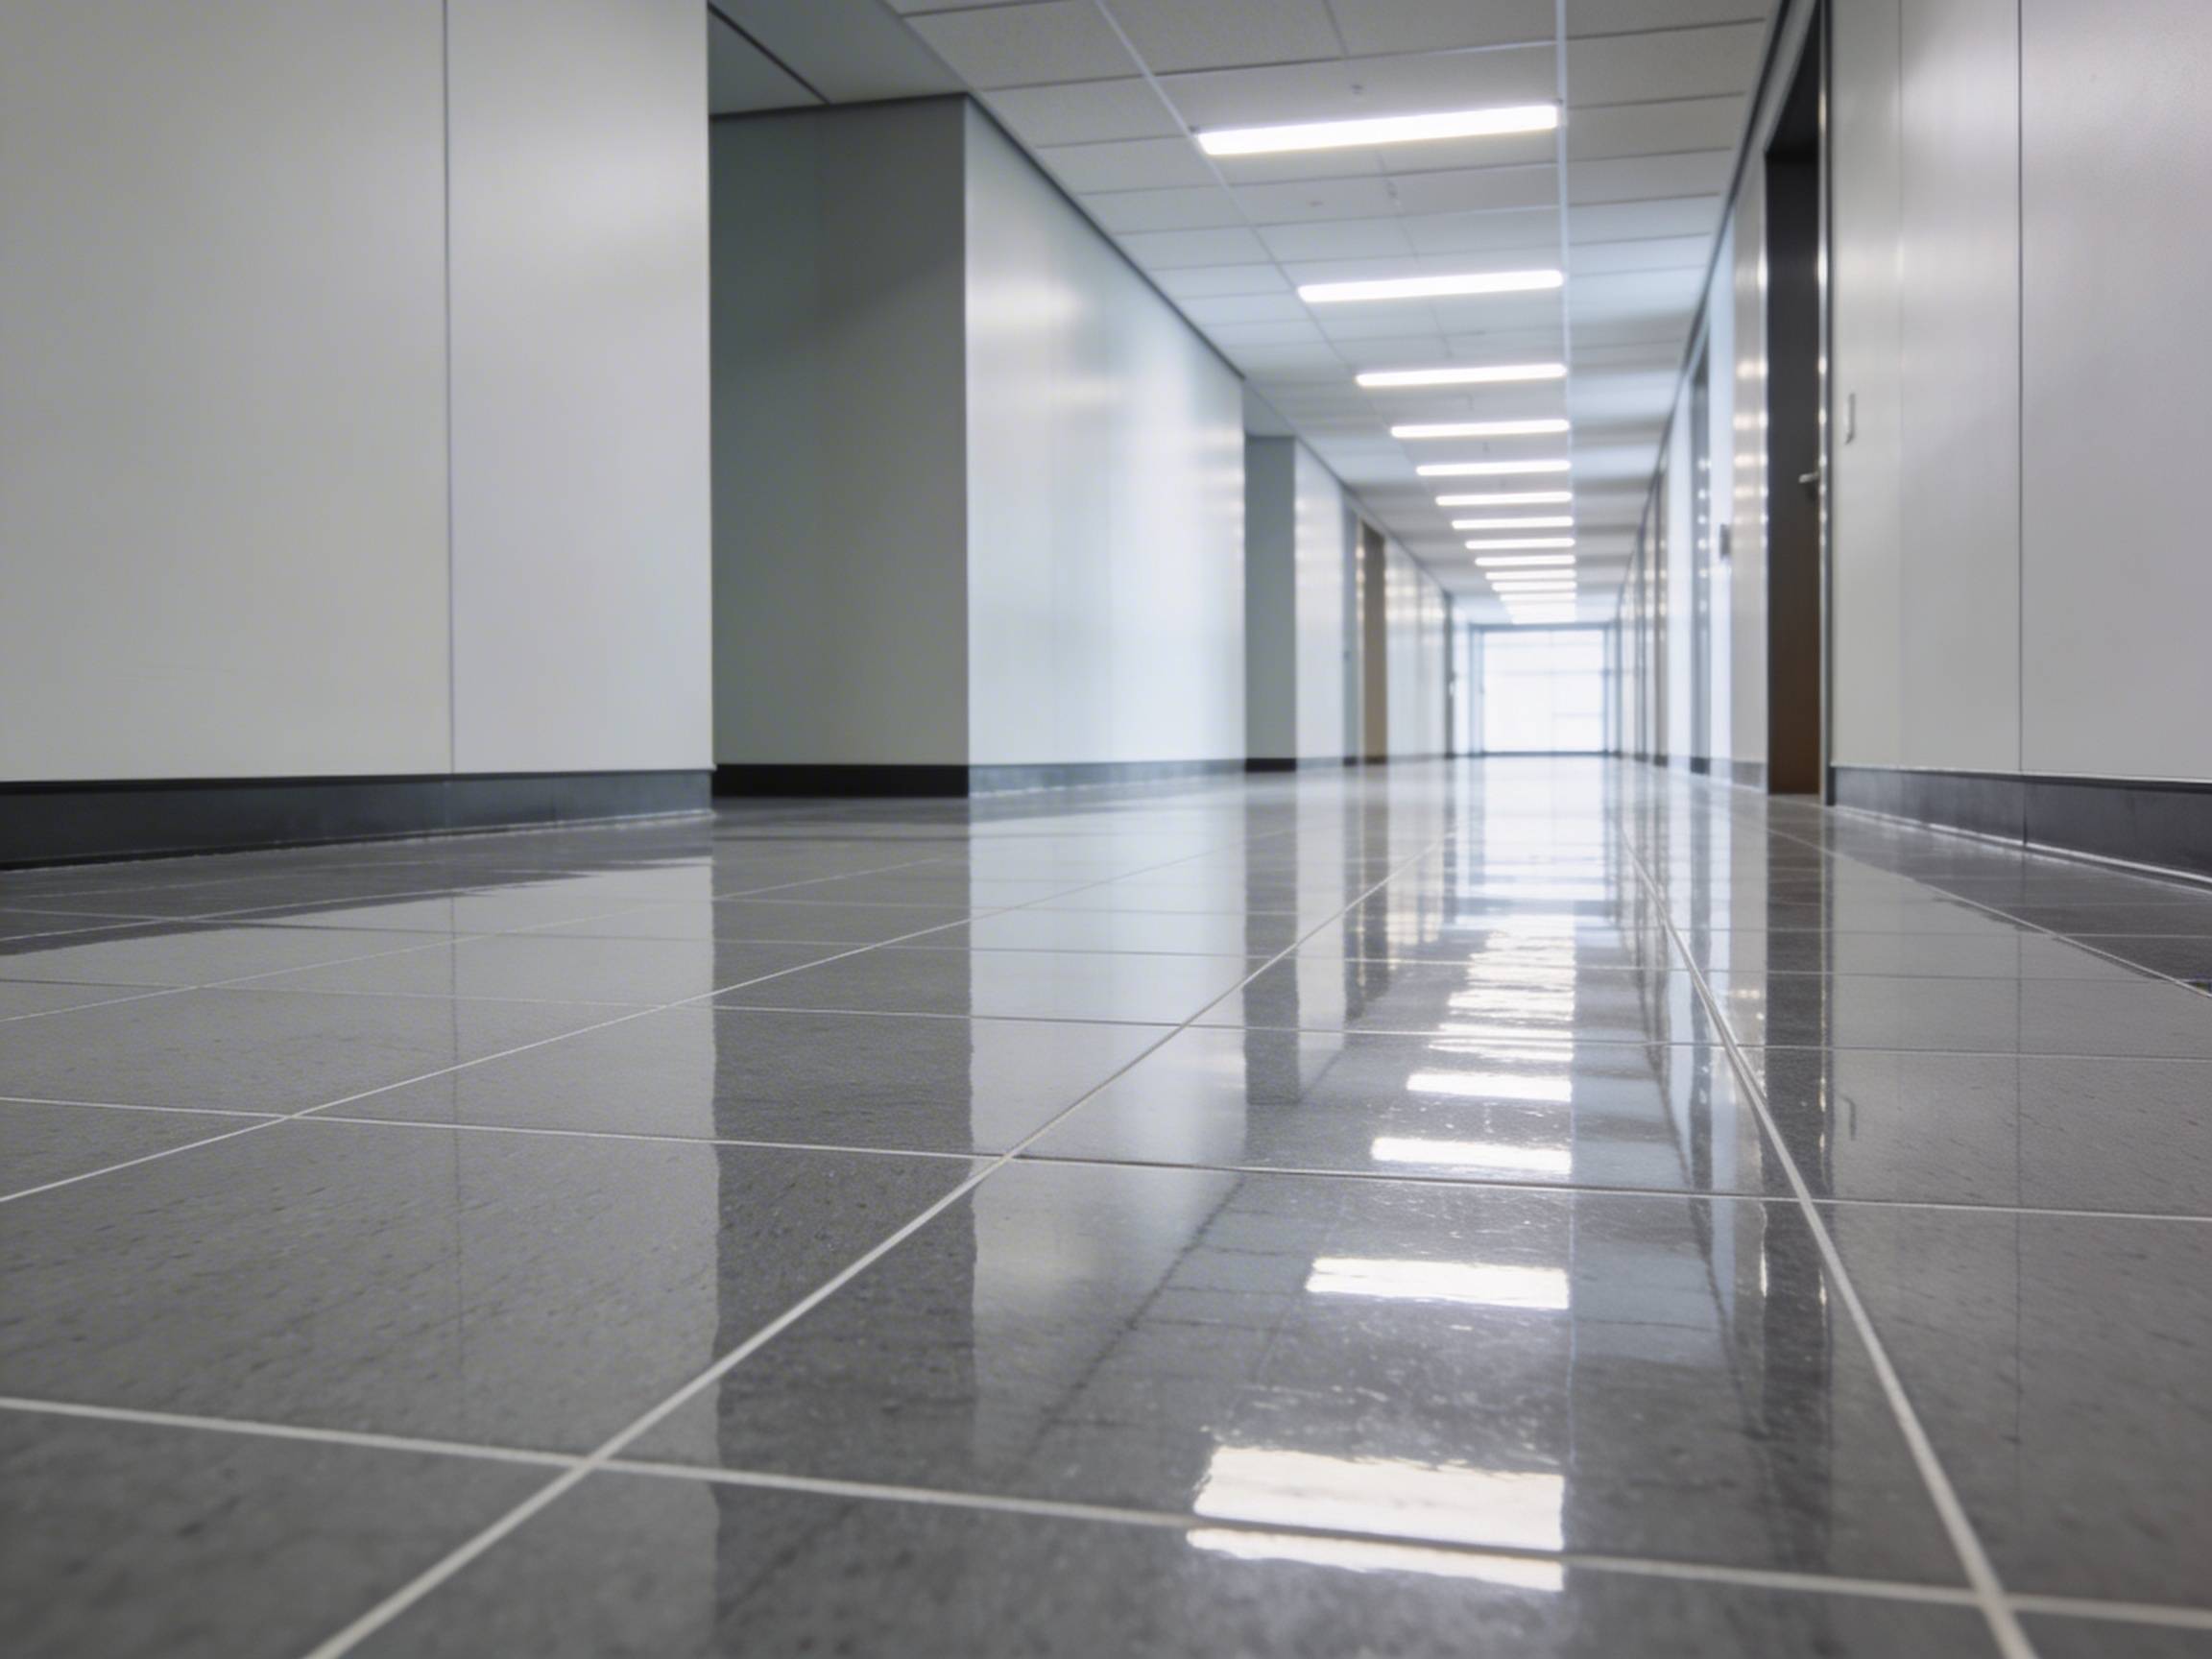
VCT floor polishing works best as a schedule, not a one-time repair: dust mop daily, damp clean with neutral solution, burnish when gloss drops, recoat before traffic lanes wear through, and strip only when the finish system has failed. A planned VCT maintenance schedule protects the tile, improves shine, and reduces restoration labor.
The best VCT maintenance schedule changes with foot traffic, soil load, and how quickly the floor finish loses gloss. Use daily cleaning to protect the surface, burnishing to recover shine, scrub-and-recoat cycles before traffic lanes wear through, and full stripping only when the finish is yellowed, peeling, tacky, or too contaminated to bond with new floor polish.
| VCT floor condition | Routine cleaning and polishing plan | When to recoat or strip |
|---|---|---|
| Low-traffic offices and storage areas | Dust mop daily, damp mop with neutral cleaner several times per week, and burnish when gloss starts to fade. | Recoat when dull lanes no longer recover after cleaning and burnishing. |
| Retail aisles, schools, corridors, and shared offices | Dust mop and damp clean daily, machine scrub weekly, and burnish on a fixed weekly or monthly schedule. | Scrub and recoat quarterly or whenever traffic lanes lose uniform gloss. |
| High-traffic lobbies, hospitals, restaurants, and food-service zones | Clean daily, control black marks quickly, machine scrub as soil builds, and burnish frequently to keep the finish closed. | Scrub and recoat every 1 to 3 months; shorten the cycle if soil or heel marks embed into the finish. |
| Yellowed, peeling, tacky, or worn-through finish | Stop adding polish over failed layers. Remove the damaged finish and restart the coating system on a clean floor. | Full strip and recoat is needed before new polish can bond correctly. |
For product selection, compare floor polish vs floor wax, review commercial floor polish options, and match the work area with suitable floor polishers and stone polishing equipment. If the finish has already failed, use the step-by-step guidance in how to strip floor wax and polish before applying a new VCT floor polish system.
VCT (vinyl composition tile) is one of the most widely used commercial flooring materials in the world — and one of the most misunderstood when it comes to long-term maintenance. The tile itself is relatively inexpensive and durable. But without a structured polish program, VCT degrades fast: it absorbs dirt at the microscopic level, scuffs permanently, and becomes progressively harder to restore with each maintenance cycle that is skipped or done incorrectly.
This guide covers the complete VCT maintenance system — from initial finishing through daily, weekly, and annual care routines, coat application sequences, finish assessment, and the most common polish failures to avoid.
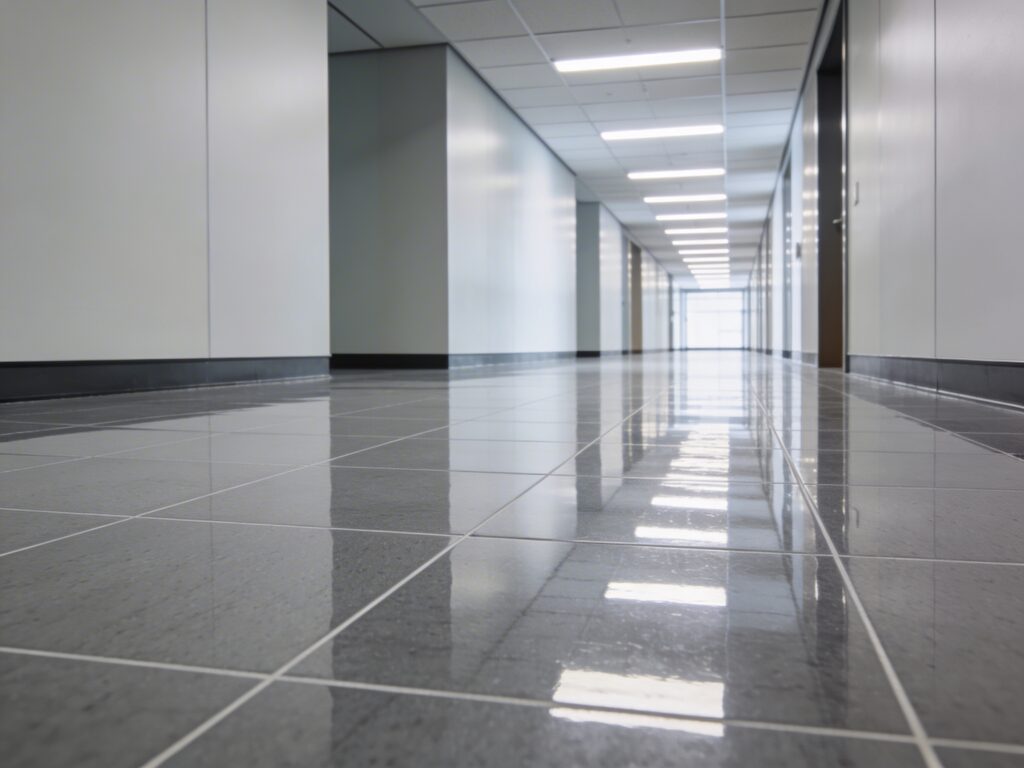
For a full comparison of floor polish versus floor wax and guidance on which product is appropriate for VCT, see our floor polish vs floor wax guide.
VCT tiles are manufactured from polyvinyl chloride (PVC) blended with limestone filler and pigment, pressed into dense 12×12-inch tiles. The limestone filler — which makes up a significant portion of the tile’s composition — gives VCT its characteristic hardness and dimensional stability, but also makes the tile surface microscopically porous.
This porosity is the central reason VCT requires a finishing program rather than simple cleaning. An unfinished VCT floor:
The finish coats — typically three to five layers of water-based acrylic or polymer floor polish — serve as the actual wear and appearance layer of the floor. The tile beneath is protected; all maintenance activity occurs on and within the finish system. When the finish is functioning correctly, VCT is easy to clean, maintains a consistent gloss level, and recovers quickly from normal use. When the finish system is neglected, degraded, or incorrectly applied, VCT requires far more labor to restore than any routine maintenance program would have required.
VCT is the primary use case for commercial floor polish. Unlike luxury vinyl tile (LVT), which has a factory-applied wear layer that requires no finishing, VCT depends entirely on the applied finish for its appearance and protective performance.
A practical VCT maintenance schedule starts by separating heavy, medium, and light traffic zones, then matching each zone to cleaning frequency and finish condition. The schedule should change when entrances collect grit, corridors lose gloss, black heel marks appear, or finish layers no longer bond evenly.
| Interval | Heavy traffic VCT | Medium or light traffic VCT | Decision signal |
|---|---|---|---|
| Daily | Dust mop, remove grit, spot clean spills, and auto scrub as needed. | Dust mop and spot clean; auto scrub on scheduled days. | Visible grit, spill risk, or tracked-in soil near entrances. |
| Weekly | Inspect gloss lanes, heel marks, edges, and soil around fixtures. | Inspect traffic turns, doorways, and chair zones. | Uneven gloss or marks that routine cleaning no longer removes. |
| Monthly or quarterly | Scrub and recoat worn lanes before the tile is exposed. | Recoat only when finish layers are thin or patchy. | Finish wear depth, adhesion, and whether burnishing still improves appearance. |
| Annual or failure-based | Strip and recoat if finish is contaminated, yellowed, peeling, or overbuilt. | Delay stripping when finish remains intact and well bonded. | Do not add polish over failed finish layers. |
This keeps VCT care from becoming a generic floor polish discussion. The right action is the lowest-intervention step that restores cleanability and appearance without overbuilding finish layers or stripping too aggressively.
VCT floor maintenance should be planned by traffic zone before the daily, weekly, monthly, and annual tasks are assigned. GSC queries for VCT floor maintenance, VCT tile floor maintenance, commercial floor polish, and commercial floor polishing machines show that searchers are trying to connect the maintenance calendar with actual finish wear. A lobby entrance, nurse station, supermarket aisle, classroom, and back corridor do not need the same auto scrubber frequency, finish layers, scrub and recoat timing, or full strip and recoat cycle.
| Traffic zone | Maintenance decision | Recoat trigger |
|---|---|---|
| Entrance, checkout, elevator, or turning area | Daily dust removal, frequent auto scrubber passes, and fast black heel marks response | Scrub and recoat when gloss drops unevenly or finish layers look thin in the traffic lane. |
| Normal corridor, classroom, office, or ward | Routine neutral cleaning, weekly inspection, and burnishing only when the finish can support it | Recoat before the VCT tile itself is exposed, not after the color looks permanently dull. |
| Low-traffic room or storage area | Lower cleaning frequency but regular soil and moisture checks | Delay recoat if finish is intact; do not build too many layers that later require aggressive stripping. |
| Floor with peeling, powdering, yellowing, or poor adhesion | Failure diagnosis before adding more floor polish | Consider full strip and recoat when old finish layers are contaminated, overbuilt, or no longer bonding. |
The practical VCT tile floor maintenance sequence is to map traffic zones, clean with a neutral routine, protect finish layers, remove black heel marks early, then choose between scrub and recoat or strip and recoat based on adhesion and wear depth. This keeps the schedule different from a simple floor polish vs wax discussion: the decision is not only what the product is called, but when the VCT finish should be cleaned, renewed, or fully rebuilt.
Related planning paths: compare terminology in floor polish vs floor wax, use floor polish vs floor sealer when base-layer adhesion is the question, and review how to strip floor wax and polish when the finish layers need a full rebuild.
A structured VCT maintenance program operates on four distinct cycles, each with different objectives and equipment requirements. The more consistently the daily and weekly tasks are performed, the less intensive the periodic work needs to be.
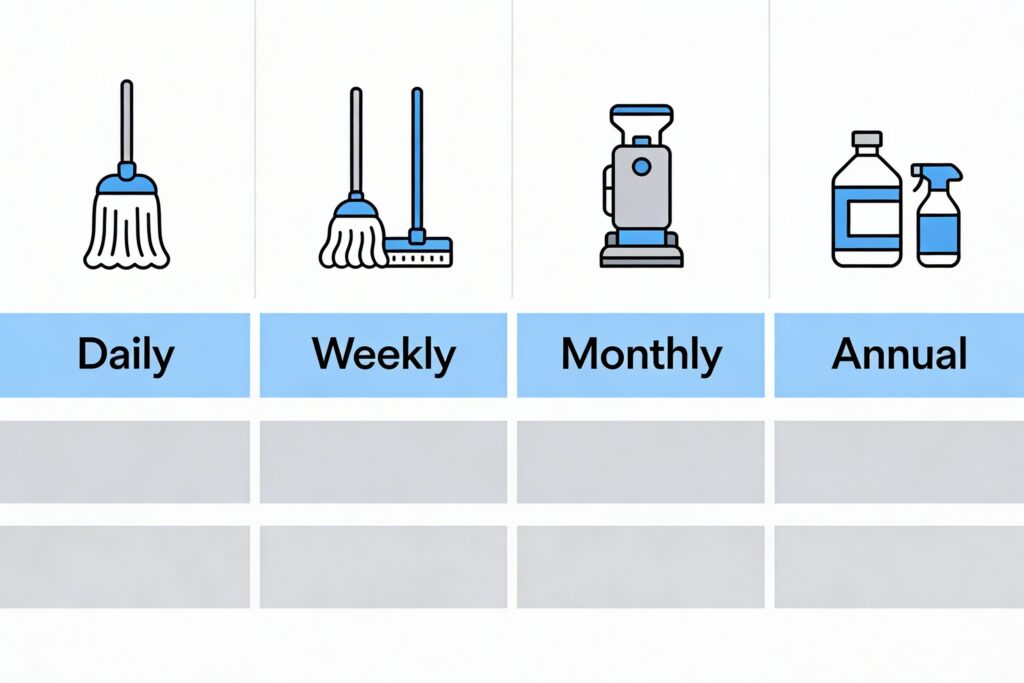
The scrub-and-recoat cycle extends the life of the finish system without a full strip. It is appropriate when the finish is showing wear but has not fully degraded:
A properly maintained VCT floor can sustain several scrub-and-recoat cycles before requiring a full strip. The key limiting factor is total finish thickness: when coats have accumulated to the point where edges show visible layer ridges or the finish begins to crack and yellow, a full strip is necessary regardless of interval.
At least once per year — or when the scrub-and-recoat cycle can no longer restore an acceptable finish — the complete finish system must be stripped and reapplied from bare tile. For the full stripping process, see our guide on how to strip floor wax and polish.
After stripping, allow the floor to dry completely before applying the new finish system. In facilities with very high foot traffic or aggressive cleaning programs, the annual strip-and-recoat cycle may need to be shortened to every six to eight months.
On freshly stripped or new VCT tile:
New VCT tile arrives from the factory with a release agent applied to prevent tiles from sticking together during storage and shipping. This release agent must be fully removed before any finish is applied — it will prevent the first coat from bonding correctly and causes premature peeling. Strip or scrub the floor with a floor machine and appropriate pad before the first finish coat, even if the tile has never been finished before.
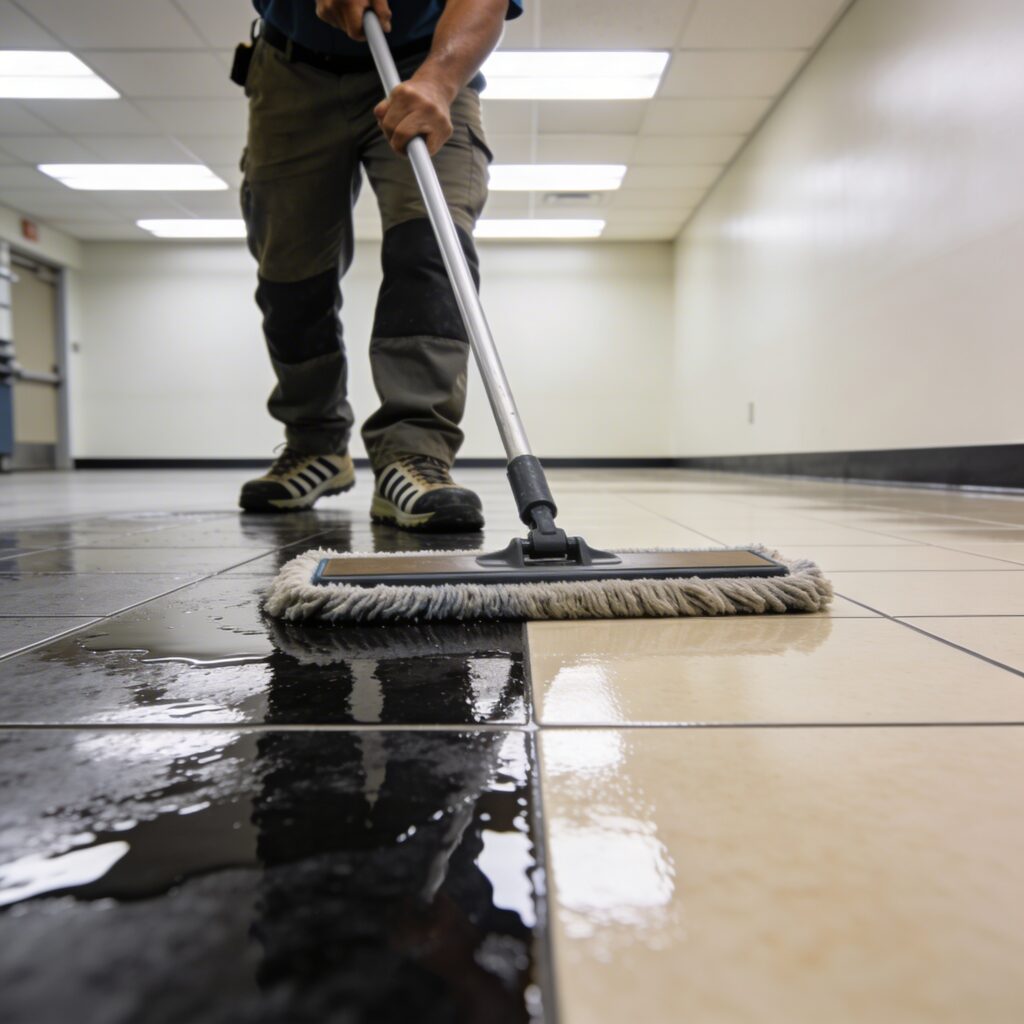
Recommended sequence for new or freshly stripped VCT:
Total coats for new or stripped VCT: four to five coats is the standard for most commercial floor polish products. Check the product technical data sheet for the manufacturer’s specific recommendation, as polymer density varies between formulations.
Compatibility between product applications:
Do not mix floor polish products from different manufacturers in the same finish system without verifying chemical compatibility. Incompatible polymer chemistries in successive coats can cause delamination, cloudiness, or adhesion failure. If switching products, complete a full strip before applying a different finish brand.
Avoid these application errors:
After the basic VCT maintenance schedule is in place, the next decision is product selection by floor condition. The latest GSC data shows separate searches for VCT cleaning, VCT floor care, VCT tile care, VCT floor finish, VCT floor polish, and VCT tile stripping and waxing. Those searches are close to the same workflow, but they should not all lead to the same action. A floor that only has soil film needs cleaning and the right pad. A floor with thin but bonded finish needs scrub-and-recoat planning. A floor with yellowed, peeling, or contaminated layers needs stripping before new polish is applied.
| Floor condition | Best next step | Relevant product path |
|---|---|---|
| Daily soil, light scuffs, and routine VCT cleaning | Use neutral cleaning, a red buffer pad, and controlled machine passes before adding more finish. | 3M 5100 Red Buffer Pad and P50 Walk-behind Scrubber Dryer |
| Dull but bonded finish, no peeling, no powdering | Clean, abrade lightly, then renew the surface with a compatible VCT floor polish or finish. | PVC Super Wax Polish or High-Speed Polishing Wax |
| Heavy buildup, yellowing, poor adhesion, or old wax contamination | Strip the failed layers first, rinse thoroughly, then rebuild the finish system in thin coats. | Quick Wax Stripper and 3M 7200 Black Stripper Pad |
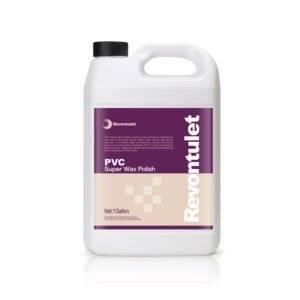
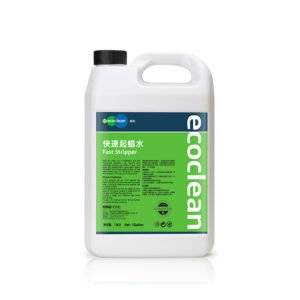
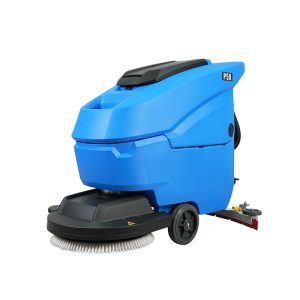
For related decisions, use the floor polish vs floor wax guide when terminology is unclear, compare floor polish vs floor sealer before rebuilding a base layer, follow how to strip floor wax and polish when old layers have failed, and check floor scrubber vs buffer before choosing equipment for cleaning or burnishing.
The finish system should be assessed at every monthly burnishing cycle, not only when problems become visually obvious. Waiting until failure is visible means the floor has already been without adequate protection for some period.
Visual inspection method:
Examine the floor in raking light from a low angle — ideally with a side-light source rather than overhead lighting. In raking light, finish wear patterns become clearly visible as matte or shadow-toned zones against the glossy field.
Indicators that a maintenance recoat (scrub and recoat) is needed:
Indicators that a full strip and recoat is needed:
Practical tile test:
In a worn area, apply a drop of clean water to the floor surface. On a properly maintained VCT floor with an intact finish, the water will bead or sheet off the surface. If the water absorbs into the surface within a few seconds, the finish in that area has been worn through to the tile substrate — the floor requires at minimum a recoat in that zone, and potentially a full strip if the condition is widespread.
The finish appears to be breaking apart, with a white powdery residue that spreads with mopping or burnishing.
Cause: Excessive coat accumulation without stripping, or individual coats applied too thick. The finish system has exceeded its total film thickness and is delaminating from within.
Prevention: Maintain a regular strip-and-recoat schedule. Apply thin coats. Count and record coat cycles so that buildup thresholds are managed proactively.
The finish has a yellow or amber cast, especially visible at room edges and in low-traffic areas.
Cause: Accumulated buildup reacting with UV light, cleaning chemicals, or age. Can also be caused by applying finish over residual stripper (insufficient rinsing after stripping) or by using wax products instead of or mixed with polymer polish.
Prevention: Rinse thoroughly after each stripping cycle (verify pH neutrality before recoating). Maintain the strip-and-recoat cycle before heavy buildup accumulates. Confirm all products used in the finish system are pH-compatible with the finished floor.
Finish coats separate from the tile surface or from each other in sheets or sections.
Cause: The most common causes are applying over a contaminated surface, applying over residual stripper (high pH inhibits polymer bonding), applying a new coat before the previous coat has fully cured, or mixing chemically incompatible products.
Prevention: After stripping, rinse until pH-neutral. Allow complete drying before the first coat. Apply only thin coats. Do not mix products from different manufacturers within the same finish system.
The floor shows applicator lines, mop streaks, or significant variation in gloss across the field.
Cause: Coats applied too thick; a dirty or previously used applicator mop carrying contamination; airflow from HVAC or open doors causing uneven drying rates; applying finish in direct sunlight.
Prevention: Use a clean microfiber flat mop for each new coat. Close HVAC vents and doors during application and for 30 minutes after. Apply thin coats with deliberate, overlapping strokes. Alternate mop direction between coats.
Heel marks and black scuff marks appear after normal use and do not respond to burnishing.
Cause: The finish layer is too thin to absorb and release normal foot traffic abrasion. This is not a product failure — it is a maintenance scheduling issue. The floor needs a maintenance recoat to restore a viable finish depth.
Prevention: Do not allow the scrub-and-recoat interval to extend beyond the point where burnishing stops being effective. A one-coat maintenance application early prevents the labor of a full strip later.
VCT cleaning, VCT polishing, and VCT tile care are connected steps, not separate maintenance programs. Routine cleaning removes soil before it scratches the floor finish. Buffing or burnishing restores gloss when the finish is still intact. A strip and recoat is reserved for VCT tile floors with heavy wear, embedded dirt, yellowing, or finish failure.
For commercial VCT tile floor maintenance, build the schedule around traffic level, entrance matting, soil load, and the condition of the existing floor finish. If daily cleaning no longer restores a clean appearance, inspect whether the problem is surface soil, worn polish, chemical residue, or a damaged finish layer before choosing the next step.
Related planning guides: floor polish vs floor sealer, how to strip floor wax and polish, and floor scrubber vs buffer.
How often should VCT floors be maintained? Dust mop daily, damp clean or auto-scrub as soil appears, burnish when gloss drops, scrub and recoat before traffic lanes wear through, and fully strip only when the finish is yellowed, peeling, contaminated, or no longer bonds to new polish.
What is the best routine for high-traffic VCT? Use entrance matting, daily soil removal, weekly machine scrubbing where needed, scheduled burnishing, and a scrub-and-recoat cycle every 1 to 3 months in lobbies, hospitals, restaurants, schools, and retail aisles with heavy foot traffic.
Should VCT be waxed or polished? Most VCT programs should use commercial floor polish or finish rather than traditional wax. Polish gives a more predictable maintenance cycle for burnishing, recoating, stripping, and slip-control checks.
For product matching, pair the maintenance schedule with PVC Super Wax Polish, 3M 5100 Red Buffer Pad, and the correct scrubber or buffer for the traffic zone.
Related: Floor wax uses vs floor polish · Floor polish vs floor sealer guide · Stone floor cleaners
 English
  Spanish