BIENVENIDO A KINGHOME
Obtenga un presupuesto gratuito
Le responderemos en un plazo de 8 horas

BIENVENIDO A KINGHOME
Le responderemos en un plazo de 8 horas
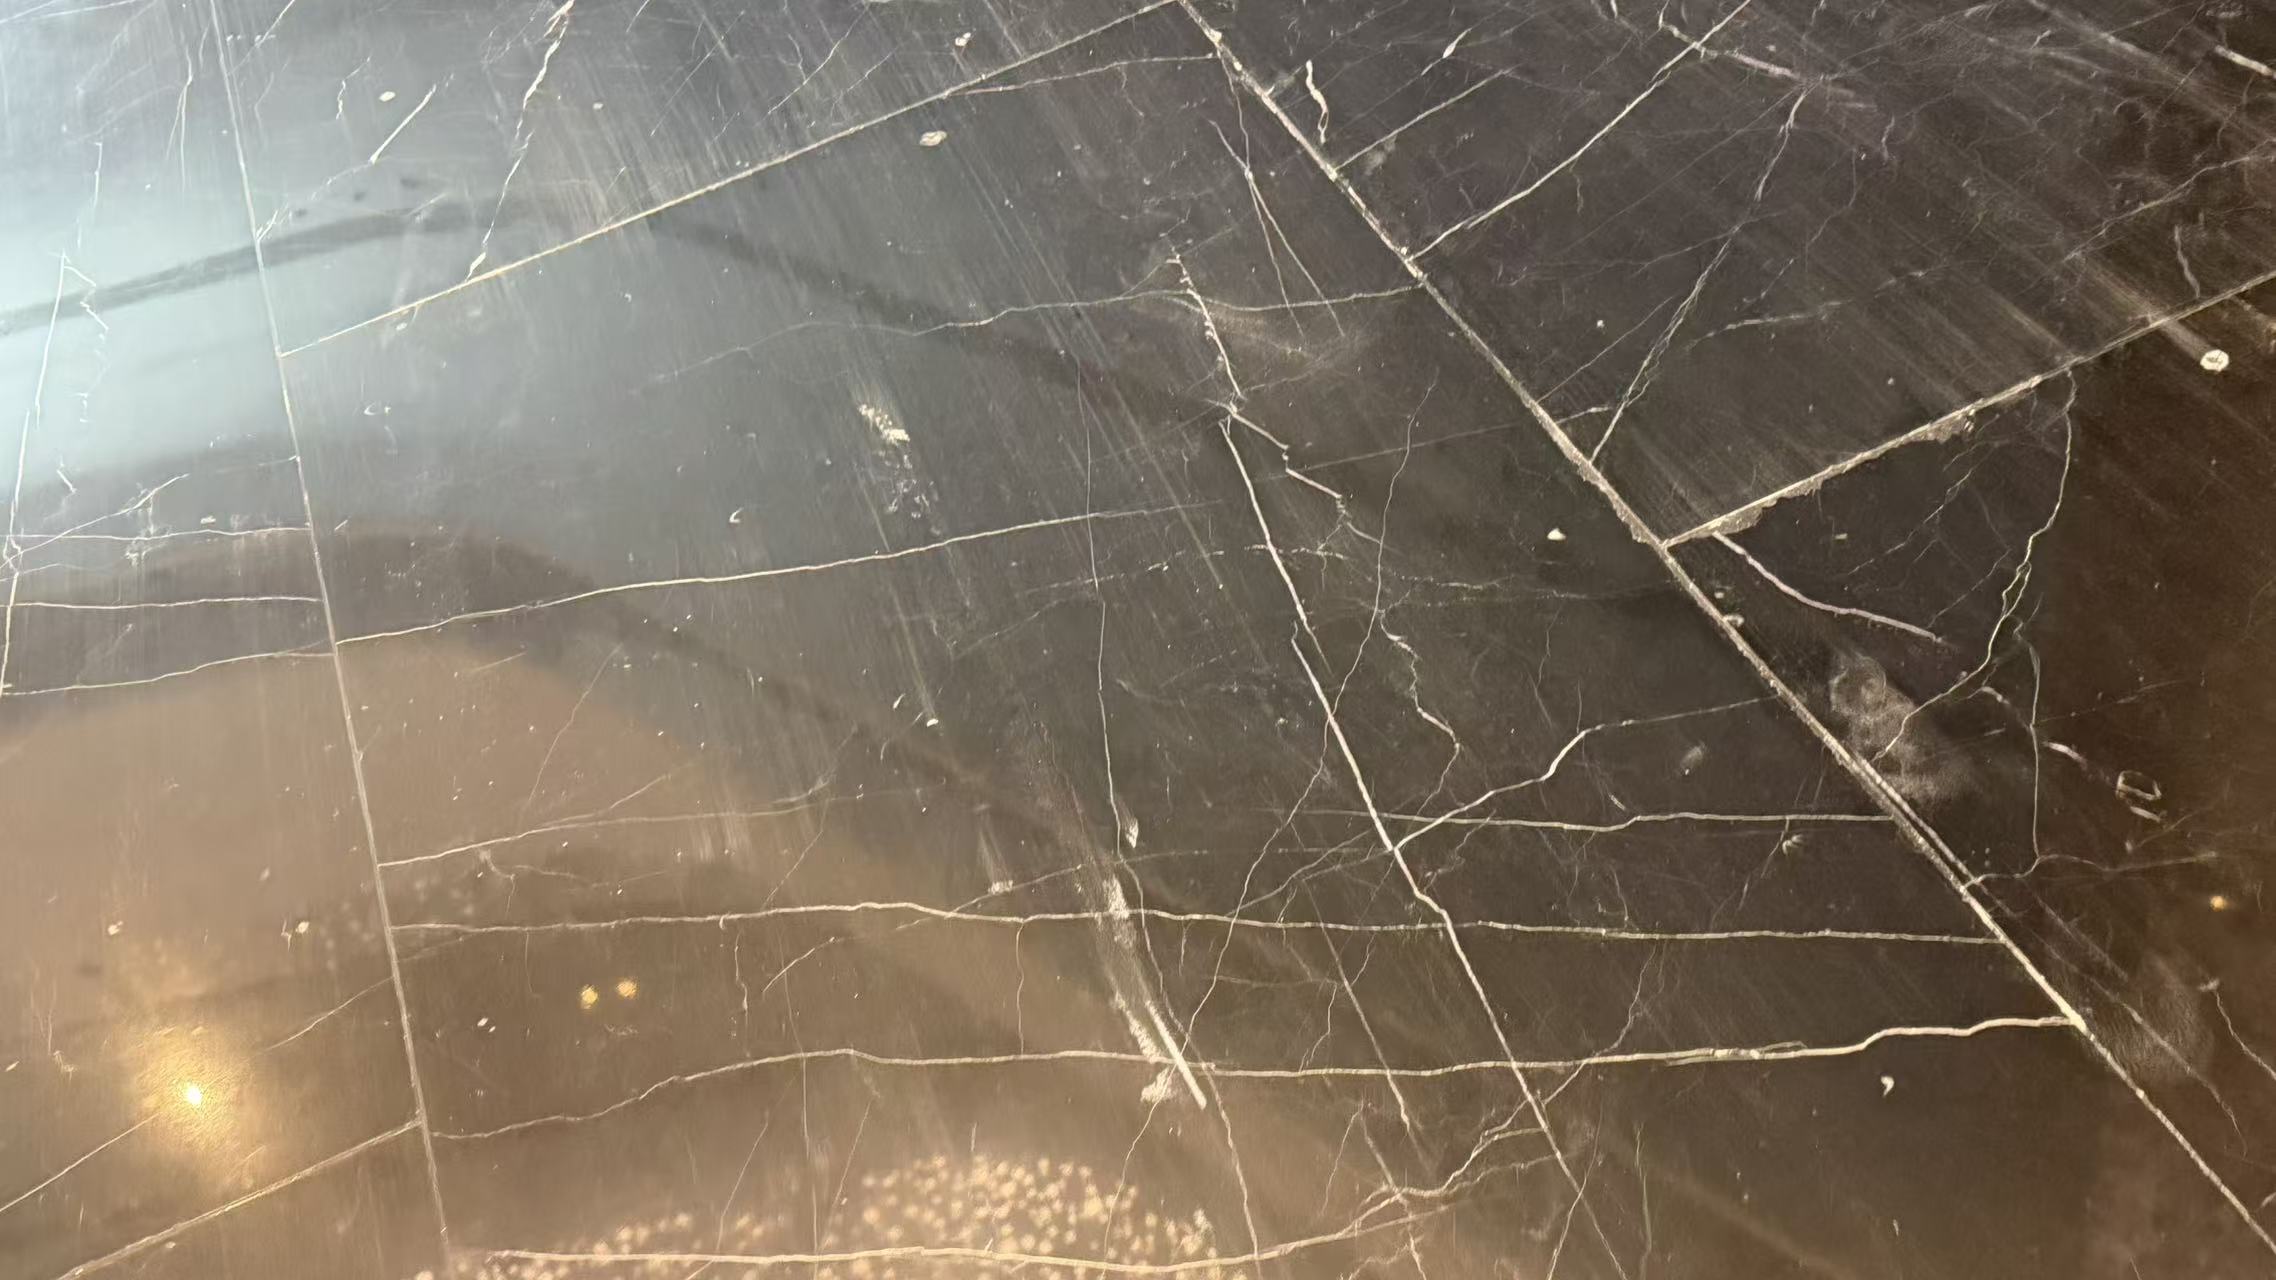
Stone floor protection during construction starts with controlling access, removing abrasive grit, and installing suitable temporary coverings—not applying a glossy finish. Keep protection in place while other trades work, inspect beneath it, and remove construction residues before final cleaning and handover. Adhesive and grout curing requirements must determine when the floor can accept traffic and cleaning equipment. Stone Federation Great Britain’s inspection and snagging guidance supports this staged approach within its UK industry context.
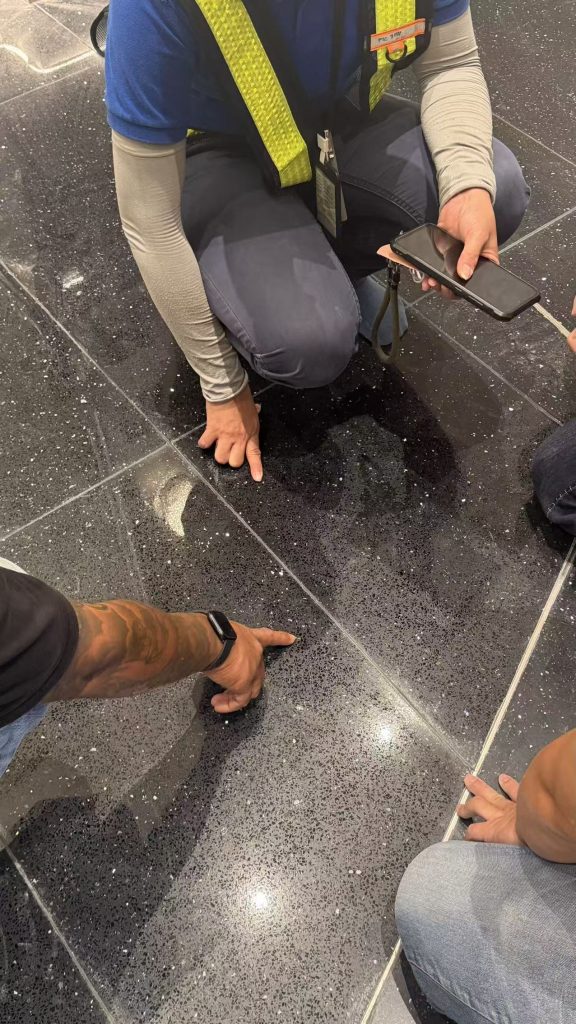
The immediate risks are sand and grit, oil, adhesives, paint, mortar, trapped moisture, dropped tools, and concentrated wheel loads. Temporary protection must address these risks without interfering with installation curing or concealing damage until the project ends.
Record the stone’s supplied name, geological type where known, surface finish, factory-applied resin or filler, and any existing treatment. Also identify the setting adhesive, grout, joint sealant, and installation dates.
These details affect both protection and cleanup:
The Natural Stone Institute’s care and cleaning guidance distinguishes calcareous and siliceous stone and cautions against assuming that siliceous stone tolerates acidic cleaners.
If the floor includes engineered stone, terrazzo, porcelain, or other materials, obtain their specific maintenance requirements rather than extending a natural-stone procedure to the entire area.
Keep unauthorized traffic off the installation until the installer releases it for the intended activity. Permission for light foot traffic does not necessarily authorize loaded trolleys or cleaning machines.
Before covering an accessible area, remove loose debris using clean, non-scratching tools. Record chips, cracks, joint conditions, and unfinished work with location-marked photographs. Agree when protection can be installed without disturbing the setting materials.
Initial grout cleanup and final machine cleaning are different operations. Follow the grout manufacturer’s instructions for initial residue removal; do not leave removable grout residue until handover simply because the floor will be covered.
Once the installation is ready for covering, inspect the surface for remaining haze, open joints, and damp patches. Confirm the curing requirements for adhesives, grout, and sealants separately. Stone Federation guidance calls for sufficient curing time according to the relevant manufacturers’ instructions before subsequent work proceeds.
Create designated access routes and protected work zones. Keep cutting, adhesive mixing, paint preparation, and chemical storage away from finished stone wherever possible.
Assign responsibility for maintaining coverings, inspecting beneath them, reporting spills, and recording damage. A clean protection layer at installation is not enough if screws, grit, or liquids later become trapped underneath.
Before moving lifts, pallet trucks, or loaded carts across the floor, obtain approval for the equipment, route, and load from the responsible project team.
Protection boards may reduce surface damage, but they do not establish the floor assembly’s load capacity. Use an approved load-spreading arrangement where required, protect vulnerable edges and transitions, and keep wheels clean. Do not drag equipment across the stone.
Finish overhead and adjacent dirty work before uncovering the floor. Remove coverings without shaking debris onto exposed stone, then vacuum loose grit before wet cleaning.
Inspect for residue, staining, scratches, dampness, and installation defects. Investigate these conditions before choosing a chemical or machine process.
Complete the agreed final inspection after cleaning and any specified treatment has cured sufficiently for assessment. Compare the installation with approved samples and project requirements.
Where the floor is inspected before all trades finish, document its condition and subsequent custody clearly. Stone Federation’s guidance emphasizes photographs and inspection records to distinguish installation issues from later damage.
| Protection material | Appropriate role | Selection checks and limitations |
|---|---|---|
| Vapor-permeable protection board | Surface protection on agreed pedestrian routes, with impact protection appropriate to the specified board | Obtain evidence of vapor permeability, non-staining suitability, and intended traffic duty. “Breathable” does not establish load capacity. |
| Temporary protective film | Local splash or contamination protection where the supplier approves the exact stone and finish | Check permeability, adhesive compatibility, removal conditions, and permitted application duration. Do not assume a self-adhesive film is suitable for stone. |
| Absorbent layer | Supplementary protection around controlled spill-risk work | Replace contaminated material promptly. Check for dye transfer and whether its backing or an added layer restricts drying. |
| Non-slip protection layer | Helping coverings remain stable on pedestrian routes | Confirm backing compatibility and secure transitions. A non-slip backing does not prevent trips at raised or curled edges. |
Do not enclose damp stone beneath an impermeable covering when the installation needs to release moisture. Assess the whole covering assembly: a permeable top layer cannot compensate for an impermeable layer underneath.
Persistent dampness should be investigated rather than hidden beneath more protection. KingHome’s guidance on waterproofing natural stone floors explains the distinction between reducing water absorption and trapping moisture within the installation.
Treat adhesive residue prevention as part of the installation plan. Review stone adhesive contamination prevention when adhesive or sealant contact is a project risk; confirm any proposed barrier treatment will not compromise bonding.
Curing, drying, and readiness for machine cleaning are separate checks. An adhesive may have reached its stated traffic stage while moisture remains in the setting bed. Grout may appear firm but still require protection from water or mechanical action.
Before the first machine clean, confirm:
Where moisture testing is needed, use a method and acceptance criteria appropriate to the substrate and proposed treatment. Do not use a dry-looking surface or an unexplained handheld meter reading as the sole release criterion.
Begin ordinary soil removal with a compatible neutral stone cleaner. Follow its stated dilution and rinse requirements, use a tested non-scratching pad or brush, and recover dirty solution promptly. Excess cleaner can leave film and streaks, as noted in the Natural Stone Institute’s cleaning guidance.
For marble-specific sequencing, see newly installed marble maintenance.
Test each proposed method in a small representative area. Check not only whether the residue disappears, but also whether gloss, color, texture, resin, grout, or adjacent finishes change after drying.
| Residue or symptom | Identify first | Treatment direction |
|---|---|---|
| Cement film or grout haze | Whether the residue is cementitious, epoxy-based, or another grout type | Follow the grout-specific removal procedure. Do not use an acidic cement remover on acid-sensitive stone. Neutral cleaning may remove loose soil but is not a universal hardened-haze treatment. |
| Adhesive residue | Adhesive type, cure state, and whether contamination is on or within the stone | Test a compatible removal method. Avoid aggressive scraping or solvent use without checking stone, filler, sealer, and joint compatibility. |
| Silicone residue | Surface sealant smear versus a dark stain beside the joint | Remove surface residue using an approved method without damaging the joint. Persistent dark bands require stain diagnosis, not repeated surface scrubbing. |
| Oil film or oil stain | Surface grease versus absorbed discoloration | Use a compatible degreaser for surface film; absorbed oil may require a tested extraction or poultice process. Clean before considering protection. |
| Paint | Paint chemistry, coverage, and cure state | Use controlled removal with compatible tools and chemicals. Paint strippers can damage the finish; stop if the test changes the stone’s appearance. |
| Metal contamination | Loose metal debris, surface deposits, or staining within the stone | Remove the contamination source and select a stone-specific treatment. Do not use an ordinary metal rust remover as a substitute. |
The Natural Stone Institute distinguishes oil, paint, and metal stains because they require different treatment paths. It also warns that hydrofluoric-acid-containing rust removers can attack stone, including granite and quartzite.
White powder needs separate diagnosis. If it is efflorescence, dry-remove loose deposits and investigate moisture movement rather than repeatedly washing the powder away. A dull patch that remains after residue removal may be etching or abrasion, not dirt; it needs finish assessment rather than stronger cleaning.
For every specialty chemical, review the current Technical Data Sheet and Safety Data Sheet. Follow the specified dilution, contact time, ventilation, protective equipment, recovery, and disposal instructions. Do not mix cleaners.
Neutral cleaning is the starting point for loose construction dirt and routine maintenance—not a replacement for grout-residue removal, stain extraction, or restoration.
KingHome lists a Neutral Cleaner within its EcoClean range. For procurement, confirm the current product instructions, compatibility with the project’s stone and finish, and suitability for the intended machine before ordering.
Consider a penetrating protective treatment when the stone’s absorption and expected water or oil exposure justify it. Confirm cleanliness, moisture readiness, appearance, application requirements, and any relevant slip-resistance requirements before approval.
An impregnating sealer reduces staining susceptibility; it does not make stone stain-proof, and not every stone requires sealing. It also cannot replace physical protection against construction impact and abrasion.
Build the post-handover maintenance specification around a stone floor protection system. For exterior areas, assess drainage and weather exposure through the outdoor stone floor protection workflow.
Moving slabs, damaged joints, cracks, lippage, and suspected loss of support require installation assessment before finishing. A hollow sound is an inspection signal, not a complete diagnosis; map it and check movement, joints, and installation details before selecting repair. See stone hollowing repair.
Do not use wax or crystallization to conceal contamination or instability. Grinding and honing correct specified surface geometry or damage; polishing refines the finish; crystallization is a material-specific gloss-treatment process. None replaces installation repair, and penetrating protection serves a different purpose again.
For a KingHome product-selection review, provide the stone type and finish, installation dates, adhesive and grout details, residue photographs, moisture observations, and handover deadline through the KingHome inquiry form.
 Spanish
  English