WELCOME TO KINGHOME
Get A Free Quote
We will get back to you within 8 hours
WELCOME TO KINGHOME
We will get back to you within 8 hours
Nowadays, if you visit a marble restoration job site, you will see that a large number of projects are carried out with crystallization powder, which has become the first choice for stone restoration works.
However, even an excellent product must be matched with improved application techniques to achieve the best results. There is a crucial detail in the use of crystallization powder that directly affects working efficiency and finish quality, yet few people truly understand it. In this issue, we will share this key point.
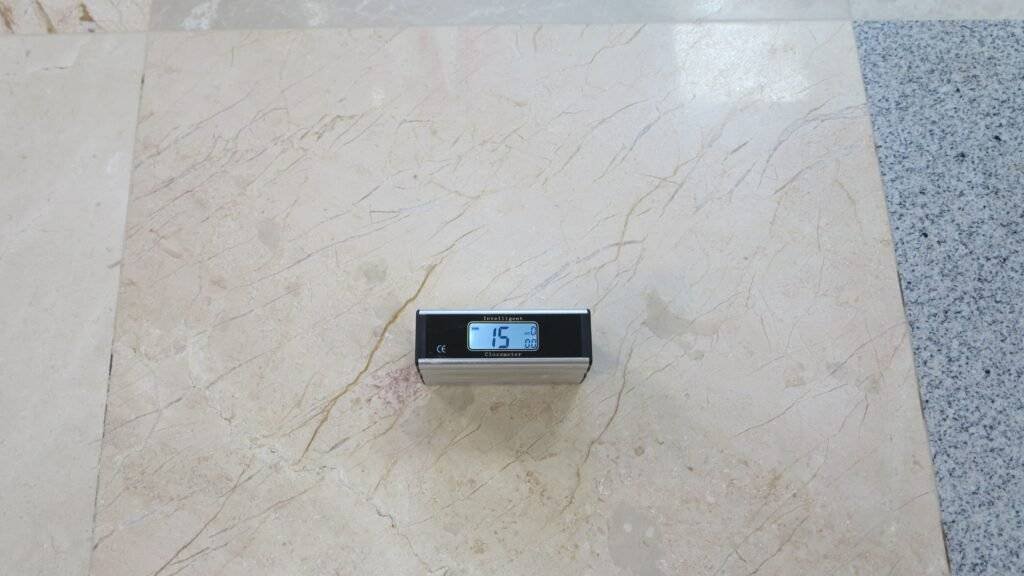
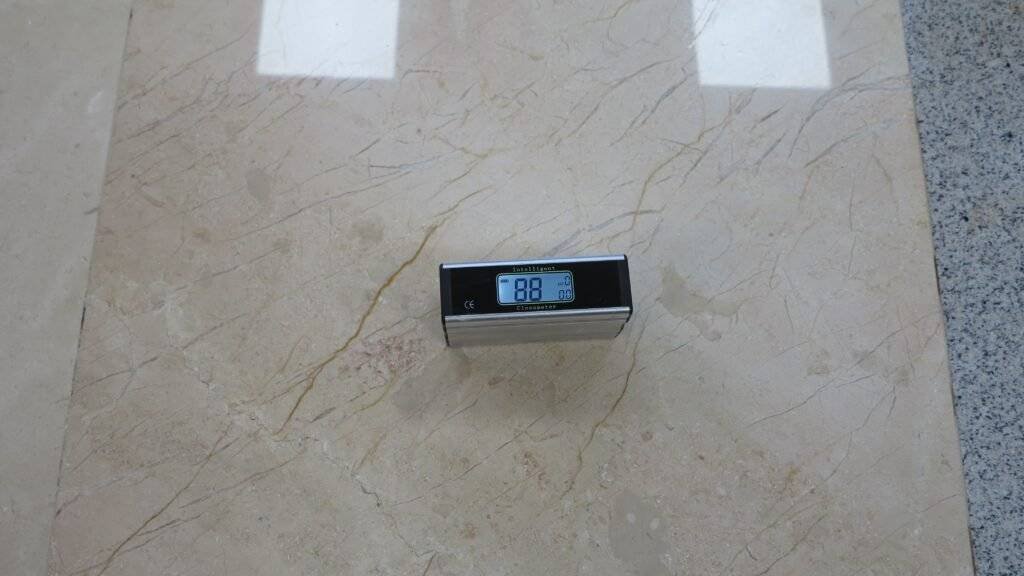
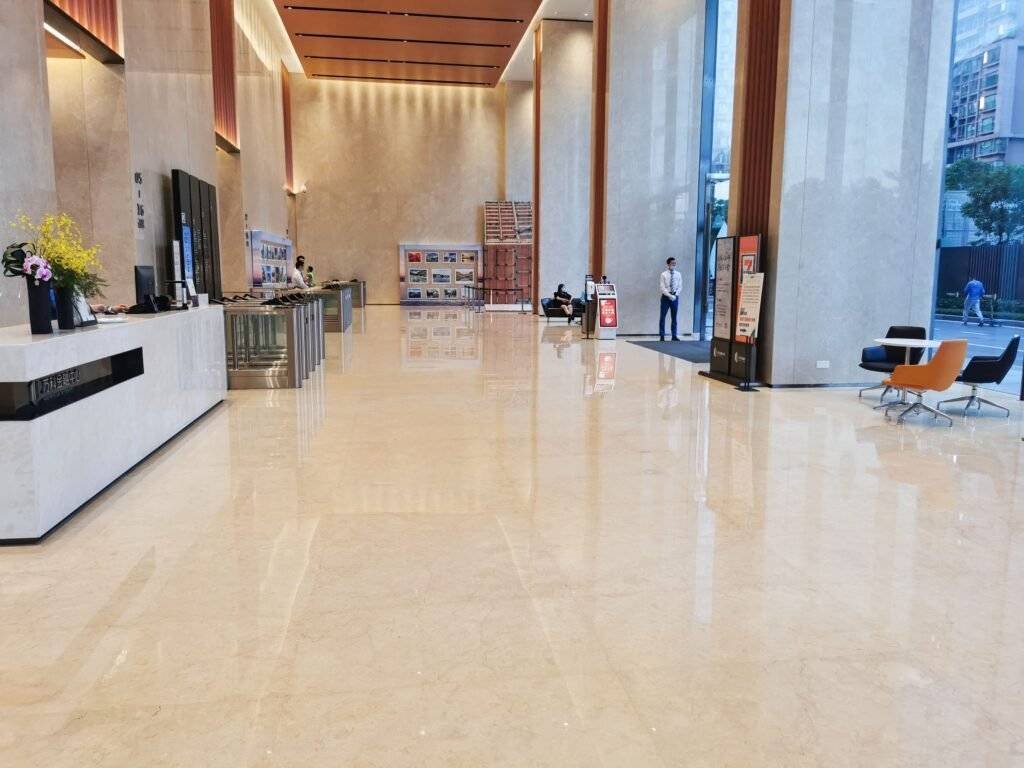
Crystallization powder delivers high polishing efficiency. The above images show the floor gloss comparison before and after using RV-82 powder.
The Role of Crystallization Powder
1.What is marble crystallization powder?
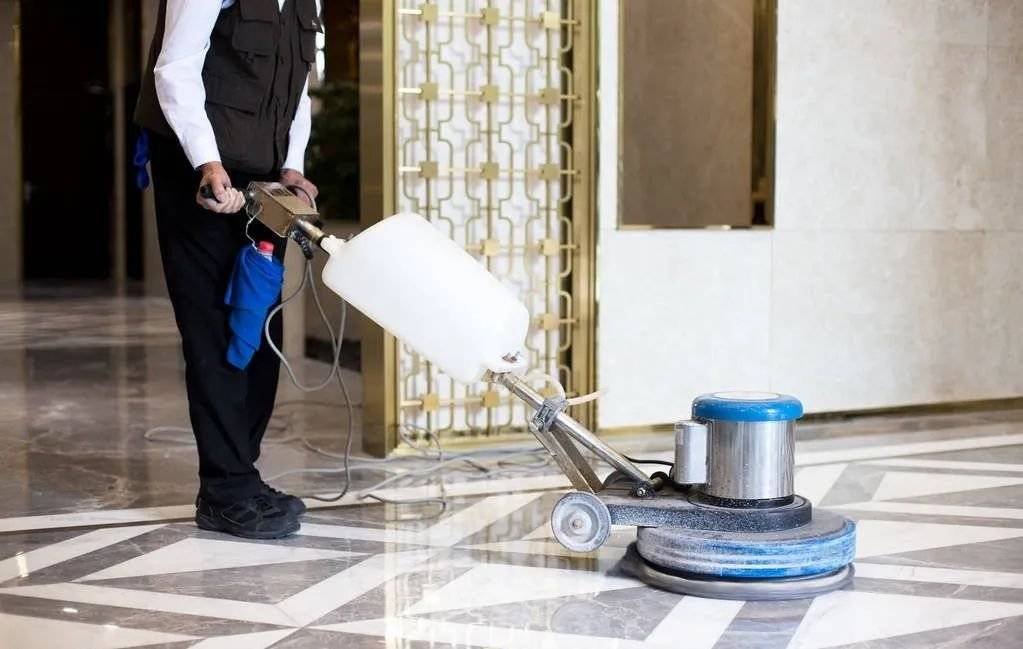
Marble crystallization powder is a specialized product for marble surface treatment. By combining a crystallizing agent with a heavy-duty floor machine, it uses both chemical reaction and mechanical friction to form a hard, compact crystalline layer on the surface. This layer protects the stone from damage and staining while preserving its natural properties.
2.Functions of crystallization powder
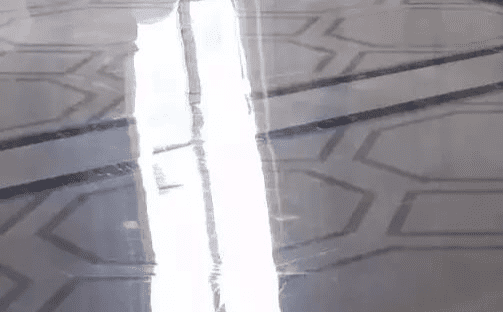
After treatment, the marble shows its original natural color with a clear, mirror-like finish, and the surface hardness is increased so it is less likely to be scratched. The nano‑based formula enhances gloss, strengthens the surface, and provides anti-slip and protective effects. Proper use can solve many common stone problems, extend service life, and offer a cost-effective alternative to replacing stone. Treated marble appears fuller in color, crystal-clear, with gloss levels above 95°, and the surface becomes more wear-resistant, less prone to fading, smooth and even, and easier to keep clean.
3.What problems arise from improper use of crystallization powder?
If the powder is used incorrectly, several problems can occur. Uneven distribution wastes time and still leaves areas where the powder cakes on the pad. If water is applied first and the stone absorbs it before the powder is fully dissolved, the etching reaction between the acidic components and the calcium in the stone is greatly weakened. Incompletely dissolved powder can cause localized over-etching (“burning”) while surrounding areas remain weak, and filling components also distribute unevenly. As a result, operators may polish for a long time without achieving good gloss, with local white burn marks and an overall hazy appearance. This completely undermines the key advantage of crystallization powder: high-efficiency, uniform shine.
Correct Use of Crystallization Powder: Pre‑Mix with Water
1.Select an Appropriate Area
As mentioned earlier, the chemical etching, grinding refinement and filling effects of crystallization powder must work together within a suitable time window. Therefore, each application should be limited to an area of about 2–3 m², and not more than 5 m² at a time. Within this 2–5 m² area, select the section you want to treat, then add water and mix the appropriate amount of powder into a uniform slurry according to the area.
2.How to Use Crystallization Powder
It is also important to mix only what you will use immediately. Prepare enough slurry for just 2–5 m² and use it at once, then mix a new batch as needed. Do not dilute a large bucket of powder with water and let it sit, because—unlike liquid crystallizers—the active components in powder will gradually lose effectiveness after dissolving in water.
Always ensure the crystallization powder is fully and evenly mixed before use.
3.Polishing Techniques


As with all polishing materials, crystallization should be performed evenly and delicately, achieving the finish in one uniform process. For each 2–5 m² rectangular area, start polishing along the edge of the rectangle. Using the diameter of the machine pad as the working width, move horizontally back and forth three times (for example, left→right→left, or right→left→right). Then move the machine down by half a pad width and repeat the three passes. Continue until the entire 2–5 m² area has been polished horizontally. Next, polish the same area vertically in the same three‑pass, half‑overlapping pattern. When the whole area has been polished in a cross‑hatch pattern, you can obtain an excellent final finish. In practice, treating a 2–5 m² area usually takes about 2–5 minutes. In simple terms, each new pass should overlap half of the previous one.
After one area is polished, the remaining slurry can be pulled to the next area with a squeegee and combined with freshly mixed slurry to continue polishing. When adding new slurry, slightly increase the powder ratio to compensate for dilution and quickly spread it evenly with the squeegee. However, this reused slurry should not be transferred more than 2–3 times. When you notice excessive foaming during polishing, it means the active components have been fully reacted and the slurry should be removed with a wet vacuum rather than reused.
Once the entire floor is polished, there will still be residual slurry on the surface that continues to react. If it is not cleaned off in time, the freshly finished surface may be over‑etched and lose gloss. You can clean it in one of the following ways:
Method 1: Use an automatic scrubber to wash the floor once.
Method 2: Use a single‑disc machine with a clean, dry pad to buff off the residue.
Method 3: At minimum, use a clean dust mop to thoroughly remove remaining material from the surface.
If local areas have already been burned or turned white, lightly hone the affected spots with a 1000‑grit pad, then re‑apply crystallization powder to those areas.