WELCOME TO KINGHOME
Get A Free Quote
We will get back to you within 8 hours

WELCOME TO KINGHOME
We will get back to you within 8 hours
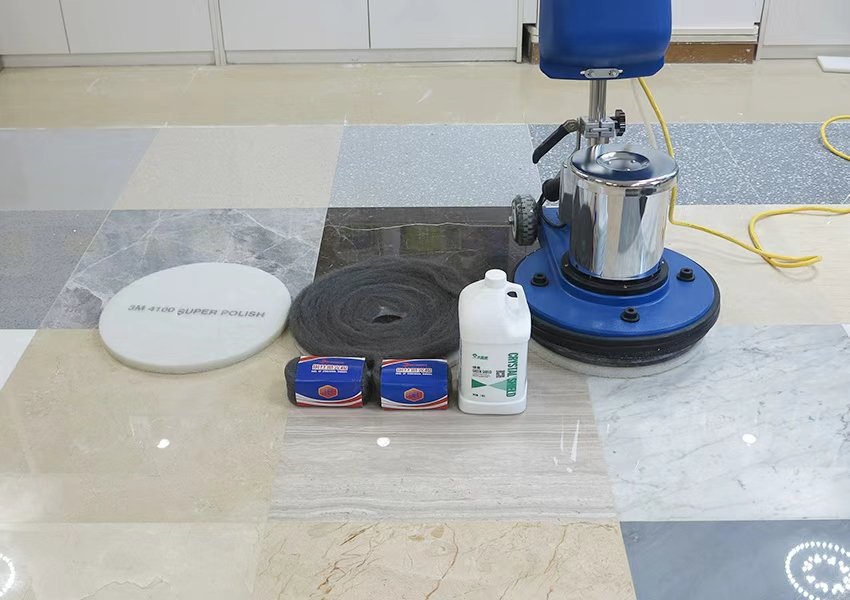
A dull marble floor should be revived in a sequence, not with a single gloss product. Inspect wear first, remove soil and residue, treat stains, repair minor surface defects, polish progressively, crystallize or protect the surface, then set a daily maintenance schedule. Skipping diagnosis can hide etching, moisture or traffic-lane wear until the shine fails again.
| Stage | Main purpose | Decision point |
| Inspection and cleaning | Separate dirt, residue, stains and true wear | Does cleaning restore uniform color? |
| Polishing or crystallization | Recover gloss and surface clarity | Is the stone calcium-rich marble or another material? |
| Protection and maintenance | Keep the shine from failing quickly | What traffic level and cleaning routine will follow? |
For connected restoration choices, see marble restoration crystallization, Crystal Shield stone protection, and professional marble floor maintenance.
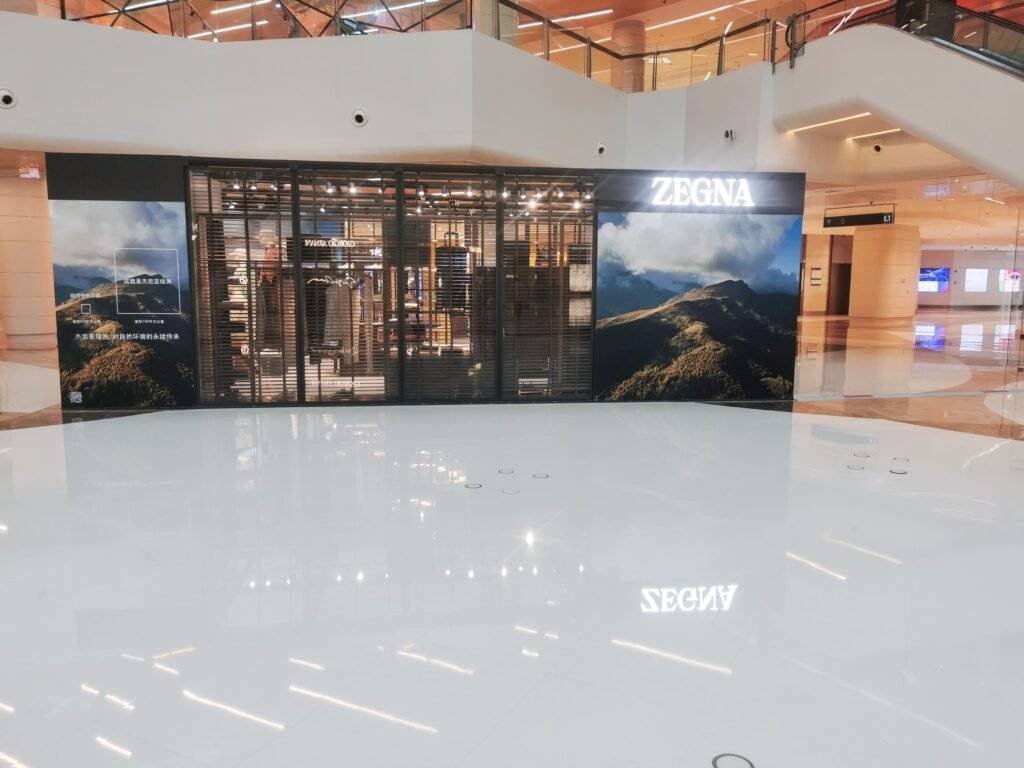
Many people who are not familiar with stone restoration do not know what kind of stone needs restoration or when it should be done. This article explains it in detail so you can fully understand when marble surfaces require renovation.
The first type of stone that needs restoration is marble that has been used for a long time. Normal wear and friction reduce its gloss. When you plan a new interior renovation or want to upgrade the image of the space, the original stone usually does not need to be replaced. Instead, you should hire a professional company to carry out marble restoration so that the existing stone can regain its original shine.
The second situation is when all the stone tiles have just been installed. There will be joints between the slabs, and these gaps must be filled with a color that closely matches the stone. After filling, the filler needs to be ground and polished. This leveling and polishing of the filled joints is also a form of stone restoration.
The third situation is related to construction damage. During renovation, workers frequently move equipment such as scaffolding and ladders, and they cannot always protect the stone surface. As a result, the stone may be scratched or, in severe cases, structurally damaged. Sometimes the installation quality is poor, leaving lippage or uneven tiles. In these cases, the misaligned or uneven stone surfaces must be professionally restored to bring them back to a flat, attractive finish.
Marble Renovation Procedure
Step 1
Thoroughly clean the floor. First remove cement slurry from the stone joints with a scraper, then use a brush and vacuum cleaner to remove all dust. Protect finished surfaces in the work area with appropriate tools and equipment.
Step 2
After overall cleaning, use dry diamond pads and professional machines to grind the stone surface, remove lippage or the old crystallized layer, and open the pores. Repair small chips and joint gaps with color‑matched marble glue. Use a special cutting machine to re‑cut the original joints to a uniform width, then refill them with marble glue of a similar color. Proceed to the next step only after the glue is fully cured.
Step 3
When the glue is dry, use renovation diamond pads and professional equipment to finely grind the stone. If high‑quality dry pads are available, dry grind; otherwise perform wet grinding. Pay special attention to the joints, edges along walls, decorative details and irregular shapes to keep the floor flat. After the first grinding pass, redo the joint filling if needed, then grind again. Use a marble renovation machine with metal‑bond or resin‑bond water grinding pads from coarse to fine, for a total of about seven passes, until the floor is flat and smooth. Finally polish with steel wool until the gloss reaches the design requirement and there are no visible gaps between tiles.
Step 4
After grinding, remove residual water from the floor with a wet vacuum and use air blowers to dry the entire marble surface. If time permits, you can also allow it to air‑dry naturally, but the surface must be completely dry.
Step 5
Spray crystallization chemical evenly on the floor while polishing with a marble polishing machine. Use a floor machine with a red pad, apply the chemical mixed with an equal amount of water to the surface, and start polishing. The heat and friction cause the crystallizer to react with the stone and form a new crystallized layer.
Step 6
Overall floor protection: for stones with high porosity, apply a marble sealer or protective agent and then polish again to further increase the hardness of the crystallized surface.
Step 7
Final cleaning and maintenance: after the surface has formed a crystal mirror finish, use a vacuum cleaner to remove all remaining residue and moisture. Then use a polishing pad to buff the floor until it is completely dry and bright like a mirror. Local damage can be treated by spot maintenance, and the area can be opened to traffic immediately after completion. After drying, perform crystallization and hardening until the surface meets the sample standard. Renovated travertine should reach a gloss of over 60 degrees with no lippage between tiles; granite should reach over 80 degrees with no visible glue lines.
Dull marble should be diagnosed before a revival plan is chosen. A cleaning residue problem, acid etch, abrasive scratch pattern, open pore issue, or failed protection layer can all look like low gloss, but each one needs a different restoration sequence.
| Dullness signal | Likely direction | Verification before work | Risk to avoid |
|---|---|---|---|
| Sticky film, footprints, or detergent haze | Start with controlled cleaning and recovery before polishing or crystallization. | Check residue feel, cleaner history, rinse quality, and dry-surface clarity. | Polishing over residue and making uneven gloss harder to diagnose. |
| White etch marks or acid dull spots | Surface preparation may be needed before final gloss recovery. | Confirm whether the mark is chemical etching rather than soil. | Repeating stronger cleaners on acid-sensitive marble. |
| Traffic-lane scratches or loss of reflection | Use a staged restoration path that matches scratch depth and finish target. | Inspect under consistent lighting and compare field, edges, and turns. | Jumping to crystallization before the scratch pattern is even. |
| Dark patches after water or stain exposure | Review moisture, stain source, and protection history before gloss work. | Check drying behavior, sealer condition, and whether stain treatment is still active. | Locking moisture or residue under a new protection layer. |
For a revival review, send the marble type, current finish, traffic pattern, cleaning chemicals, visible scratch or etch depth, moisture concerns, and photos from several angles. Related references include marble crystallization powder guidance, professional marble maintenance, and stone floor cleaning mistakes.
A seven-step marble revival guide works best after the dull marble problem is diagnosed. GSC queries for marble polishing machine, stone polishing machines, marble crystallization, and commercial stone polishing show that many readers are trying to decide whether the floor needs cleaning, mechanical polishing, crystallization, or a different machine package. Before starting, inspect whether the dullness comes from detergent residue, fine scratches, etching, worn sealer, poor crystallization cleanup, or heavy traffic that has already removed the gloss layer.
| Dull marble symptom | Likely revival direction | Control point |
|---|---|---|
| Sticky film, mop marks, or cloudy residue | Neutral cleaning and residue removal before polishing | Do not start with aggressive abrasives until cleaner buildup is ruled out. |
| Fine scratches and traffic lanes | Step-by-step honing and polishing with the right pad sequence | Match the marble polishing machine, pad grit, water control, and overlap pattern to the damage depth. |
| Low gloss after polishing | Marble crystallization or final gloss enhancement | Control chemical amount, dwell time, pad choice, and slurry pickup to reduce haze risk. |
| Large lobby or commercial stone polishing project | Machine selection plus workflow planning | Check stone polishing machines for weight, RPM stability, edge access, operator skill, and wet recovery. |
The practical sequence is diagnosis first, test area second, then cleaning, scratch refinement, gloss recovery, crystallization if suitable, and final inspection. This keeps a marble revival project from using a strong chemical when the floor needs polishing, or using a heavy machine when the real problem is residue, etching, or poor water recovery.
Related planning paths: compare the broader professional marble floor maintenance workflow, review marble crystallization powder when gloss recovery needs a chemical step, and use industrial floor polishing machines when the project scale requires a machine shortlist.
 English
  Spanish