WELCOME TO KINGHOME
Get A Free Quote
We will get back to you within 8 hours

WELCOME TO KINGHOME
We will get back to you within 8 hours
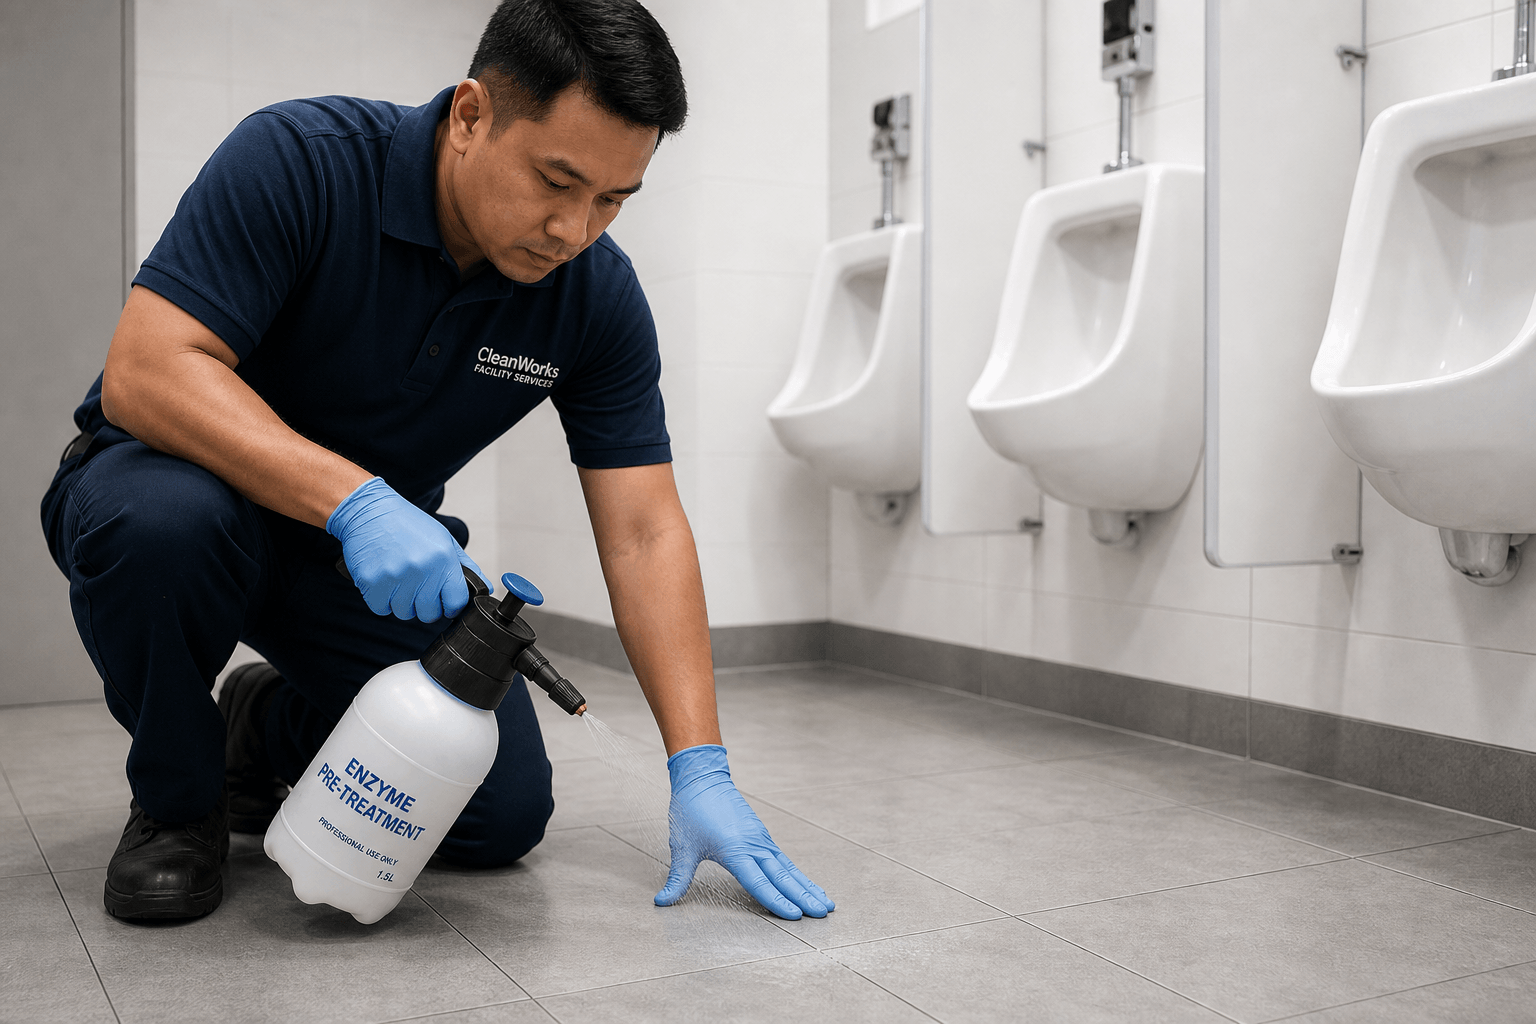
Textured porcelain tile cleaning requires more than wiping the raised parts of the surface. To remove dirt from recessed patterns, use a compatible cleaner, give it the contact time specified by its manufacturer, agitate the low points with a suitable brush, and recover the dirty solution before rinsing. Tile manufacturers’ care instructions support this combination of agitation, rinsing, and water removal rather than simply applying more detergent.
For commercial cleaning teams, the key is contact: does the cleaning tool reach the soiled recesses without damaging the tile finish or grout? Establish that on a representative test area before treating the full floor.
Do not treat every textured or slip-resistant tile as the same surface. Before selecting chemicals or equipment, record:
These details matter because a cleaner must suit the installed tile and grout, not just the porcelain body. Daltile’s ceramic and porcelain care instructions also distinguish polished porcelain from other finishes and recommend a small-area test before wider chemical use.
Dark recesses may contain removable soil, but a cloudy film or uneven appearance can also involve cleaner residue, grout haze, sealer, or an existing floor finish. Scratches and surface damage require a different assessment from cleaning.
If routine cleaning does not improve the test area, identify the remaining material before increasing chemical strength or brush aggression. Daltile treats sealer and wax removal as separate operations requiring an appropriate remover and its own application instructions—not as an extension of ordinary tile washing.
For routine soil, begin with the tile manufacturer’s recommended cleaning chemistry. Crossville’s porcelain care guidance describes neutral detergent cleaning followed by thorough rinsing and removal of the rinse water. For oily or greasy contamination, its maintenance guidance identifies mildly alkaline detergents as an option for organic residues. These recommendations remain subject to the installed product’s care instructions and the selected cleaner’s label.
Before use, confirm:
Do not substitute a generic dilution ratio or contact time for product instructions. If a label gives a mixing ratio, verify whether it means product-to-water proportions or a final solution concentration.
Acid is not the default answer to dirty texture. Crossville cautions that strong acidic or alkaline cleaners require guidance from the cleaner, tile, and grout manufacturers; it also warns that hydrofluoric acid and fluoride-containing compounds can etch porcelain and ceramic surfaces. Daltile specifically cautions against acid-based or solvent-based cleaning of fully polished impervious and polished-glaze porcelain.
Use the cleaner’s label and technical instructions to determine application. Consult its SDS for handling hazards and required protective measures, not as proof of cleaning performance.
A tool that cleans the raised surface may leave dirt in the recesses. Compare the actual cleaning result rather than choosing a brush solely by its material name, color, or apparent stiffness.
| Tool option | What to check in the test area |
|---|---|
| Soft-bristle brush | Whether the bristles reach the recesses and release soil without marking the finish. |
| Medium or firmer brush approved for the surface | Whether improved soil removal occurs without scratching, grout loss, or changes in surface appearance. |
| Compatible nonabrasive pad | Whether it cleans the low points as well as the raised areas. |
| Hand or edge brush | Whether it reaches corners, perimeter tiles, and joints missed by the machine. |
Daltile recommends soft-to-medium bristle brushes on cylindrical autoscrubbers for relevant porcelain and ceramic cleaning tasks. This is a useful starting point, not approval for every brush or installed finish.
For accessory dimensions, mounting details, and replacement checks, consult KINGHOME’s industrial ceramic floor brush selection page. Confirm the exact accessory against both the machine manual and the tile manufacturer’s care requirements.
Do not use extra down-pressure as a substitute for inadequate reach. If dirt remains in the recesses while the raised areas are already clean, reassess brush geometry, wear, chemistry, and contact time before increasing pressure. KINGHOME’s commercial tile cleaning machine selection page discusses matching the brush, machine, floor, and recovery system rather than relying on pressure alone.
Choose a small area that includes the actual cleaning problem: a soiled traffic lane, recessed texture, grout, and—where relevant—a transition to a different finish.
Include adjacent polished porcelain in a separate compatibility check if the proposed process could reach it. Daltile notes that polished porcelain needs particular care against fine scratching and places additional restrictions on cleaning chemistry. Do not assume a method accepted on textured tile is also appropriate for the polished border.
A successful trial supports the cleaning choice for comparable areas. It does not establish slip resistance or replace a site safety assessment.
Sweep or vacuum loose grit before wet cleaning. Both Daltile and Crossville include dry soil removal in their porcelain maintenance procedures.
Separate the work area from pedestrian traffic while cleaning and drying. HSE guidance identifies wet cleaning and cleaning residue as potential slip hazards and advises restricting access where necessary until the floor is dry.
Apply the prepared solution so the affected texture receives coverage, rather than wetting only the raised tile surface. Work in manageable sections that allow the specified contact time and subsequent recovery.
Follow the cleaner manufacturer’s instructions for dilution, temperature, contact time, and whether the surface must remain wet. Do not adopt a universal dwell time from another product or tile-care example. Daltile explicitly makes dilution and dwell time dependent on the selected cleaning agent.
Use the brush or pad accepted in the trial. On directional textures, compare a pass along the pattern with a pass across it, within the machine’s operating instructions. Inspect the recesses to determine whether changing direction improves contact.
Crossville’s textured-surface procedure uses brush agitation, including circular scrubbing, rather than relying on straight-line mopping alone. Treat cross-direction passes as a site trial to improve coverage, not as a guaranteed method for every texture.
Where soil remains, repeat controlled agitation within the approved process before escalating to a more aggressive accessory. Stop and reassess if the trial shows scratching, altered sheen, or grout damage.
Use a compatible hand brush where the machine cannot provide adequate contact. Check wall edges, door thresholds, corners, and recessed joints separately.
Keep the detail-cleaning solution within its approved working conditions and recover it with the main cleaning operation. Crossville’s textured tile guidance identifies brushes with side bristles as useful for textured flooring and cove-base cleaning.
Remove the loosened soil and cleaning solution, rinse with clean water, and remove the rinse water. Crossville specifies wet-vacuum extraction or toweling after rinsing; Daltile likewise calls for rinsing and removal of excess water.
On a commercial floor, inspect the scrubber’s pickup performance rather than assuming one pass has removed liquid from every recess. Watch for dirty trails, pooled solution, and residue near grout or turning points.
If residue remains, follow the cleaner’s rinsing instructions and investigate water quality, dosing, dirty rinse water, or incomplete recovery. Adding more detergent without correcting removal can leave the original problem unresolved. Daltile warns that dirty water redistributes soil and that some cleaning residues require additional rinsing.
Use a repeatable inspection record rather than judging success from a wet, freshly scrubbed floor.
| Inspection point | What to record |
|---|---|
| Recessed texture | Remaining particles, dark deposits, or visible film in the low points. |
| Raised tile surface | Changes in sheen, fine scratches, or brush marks compared with the pre-cleaning condition. |
| Grout and perimeter | Residual soil, loose grout, and missed edges. |
| Recovery | Dirty-water trails, pooled liquid, or areas requiring additional pickup. |
| Repeatability | Cleaner, dilution, contact time, accessory, settings, and passes used. |
Take before-and-after photographs from the same position, at the same distance, with comparable lighting and both surfaces dry. Add low-angle lighting to help reveal residue and surface changes. Photographs document appearance; they do not establish chemical compatibility, complete residue removal, or slip performance.
A cleaner-looking textured floor is not proof of adequate slip resistance. Daltile warns that remaining dirt and cleaner residue can compromise slip resistance.
Where the project specification, site risk assessment, or applicable requirements call for slip-performance verification, arrange an independent assessment using a method suitable for the installed floor and expected service conditions. HSE’s Assessing the Slip Resistance of Flooring explains assessment methods and the interpretation of manufacturers’ test data. Do not convert an appearance improvement into a claim that the floor is “slip-proof” or that its original performance has been restored.
Keep the accepted trial record as the basis for routine work: approved cleaner and dilution, brush or pad identification, application conditions, recovery method, and dry-floor inspection points.
If the recesses become dirty again quickly, review whether routine cleaning reaches them and whether soil and detergent are being removed completely. Crossville notes that cleaning-agent residue can leave tile dull and more susceptible to rapid resoiling.
For equipment selection, compare KINGHOME’s commercial tile cleaning machines against the site’s access, texture, detail-cleaning needs, and water-recovery requirements.
When requesting a KINGHOME product or equipment recommendation, provide the tile product details, dry close-up photographs, grout condition, soil source, current cleaner, machine model, and trial results. Ask for the proposed cleaner’s current application instructions and confirmation of accessory compatibility before arranging a representative site trial.
 English
  Spanish