WELCOME TO KINGHOME
Get A Free Quote
We will get back to you within 8 hours

WELCOME TO KINGHOME
We will get back to you within 8 hours
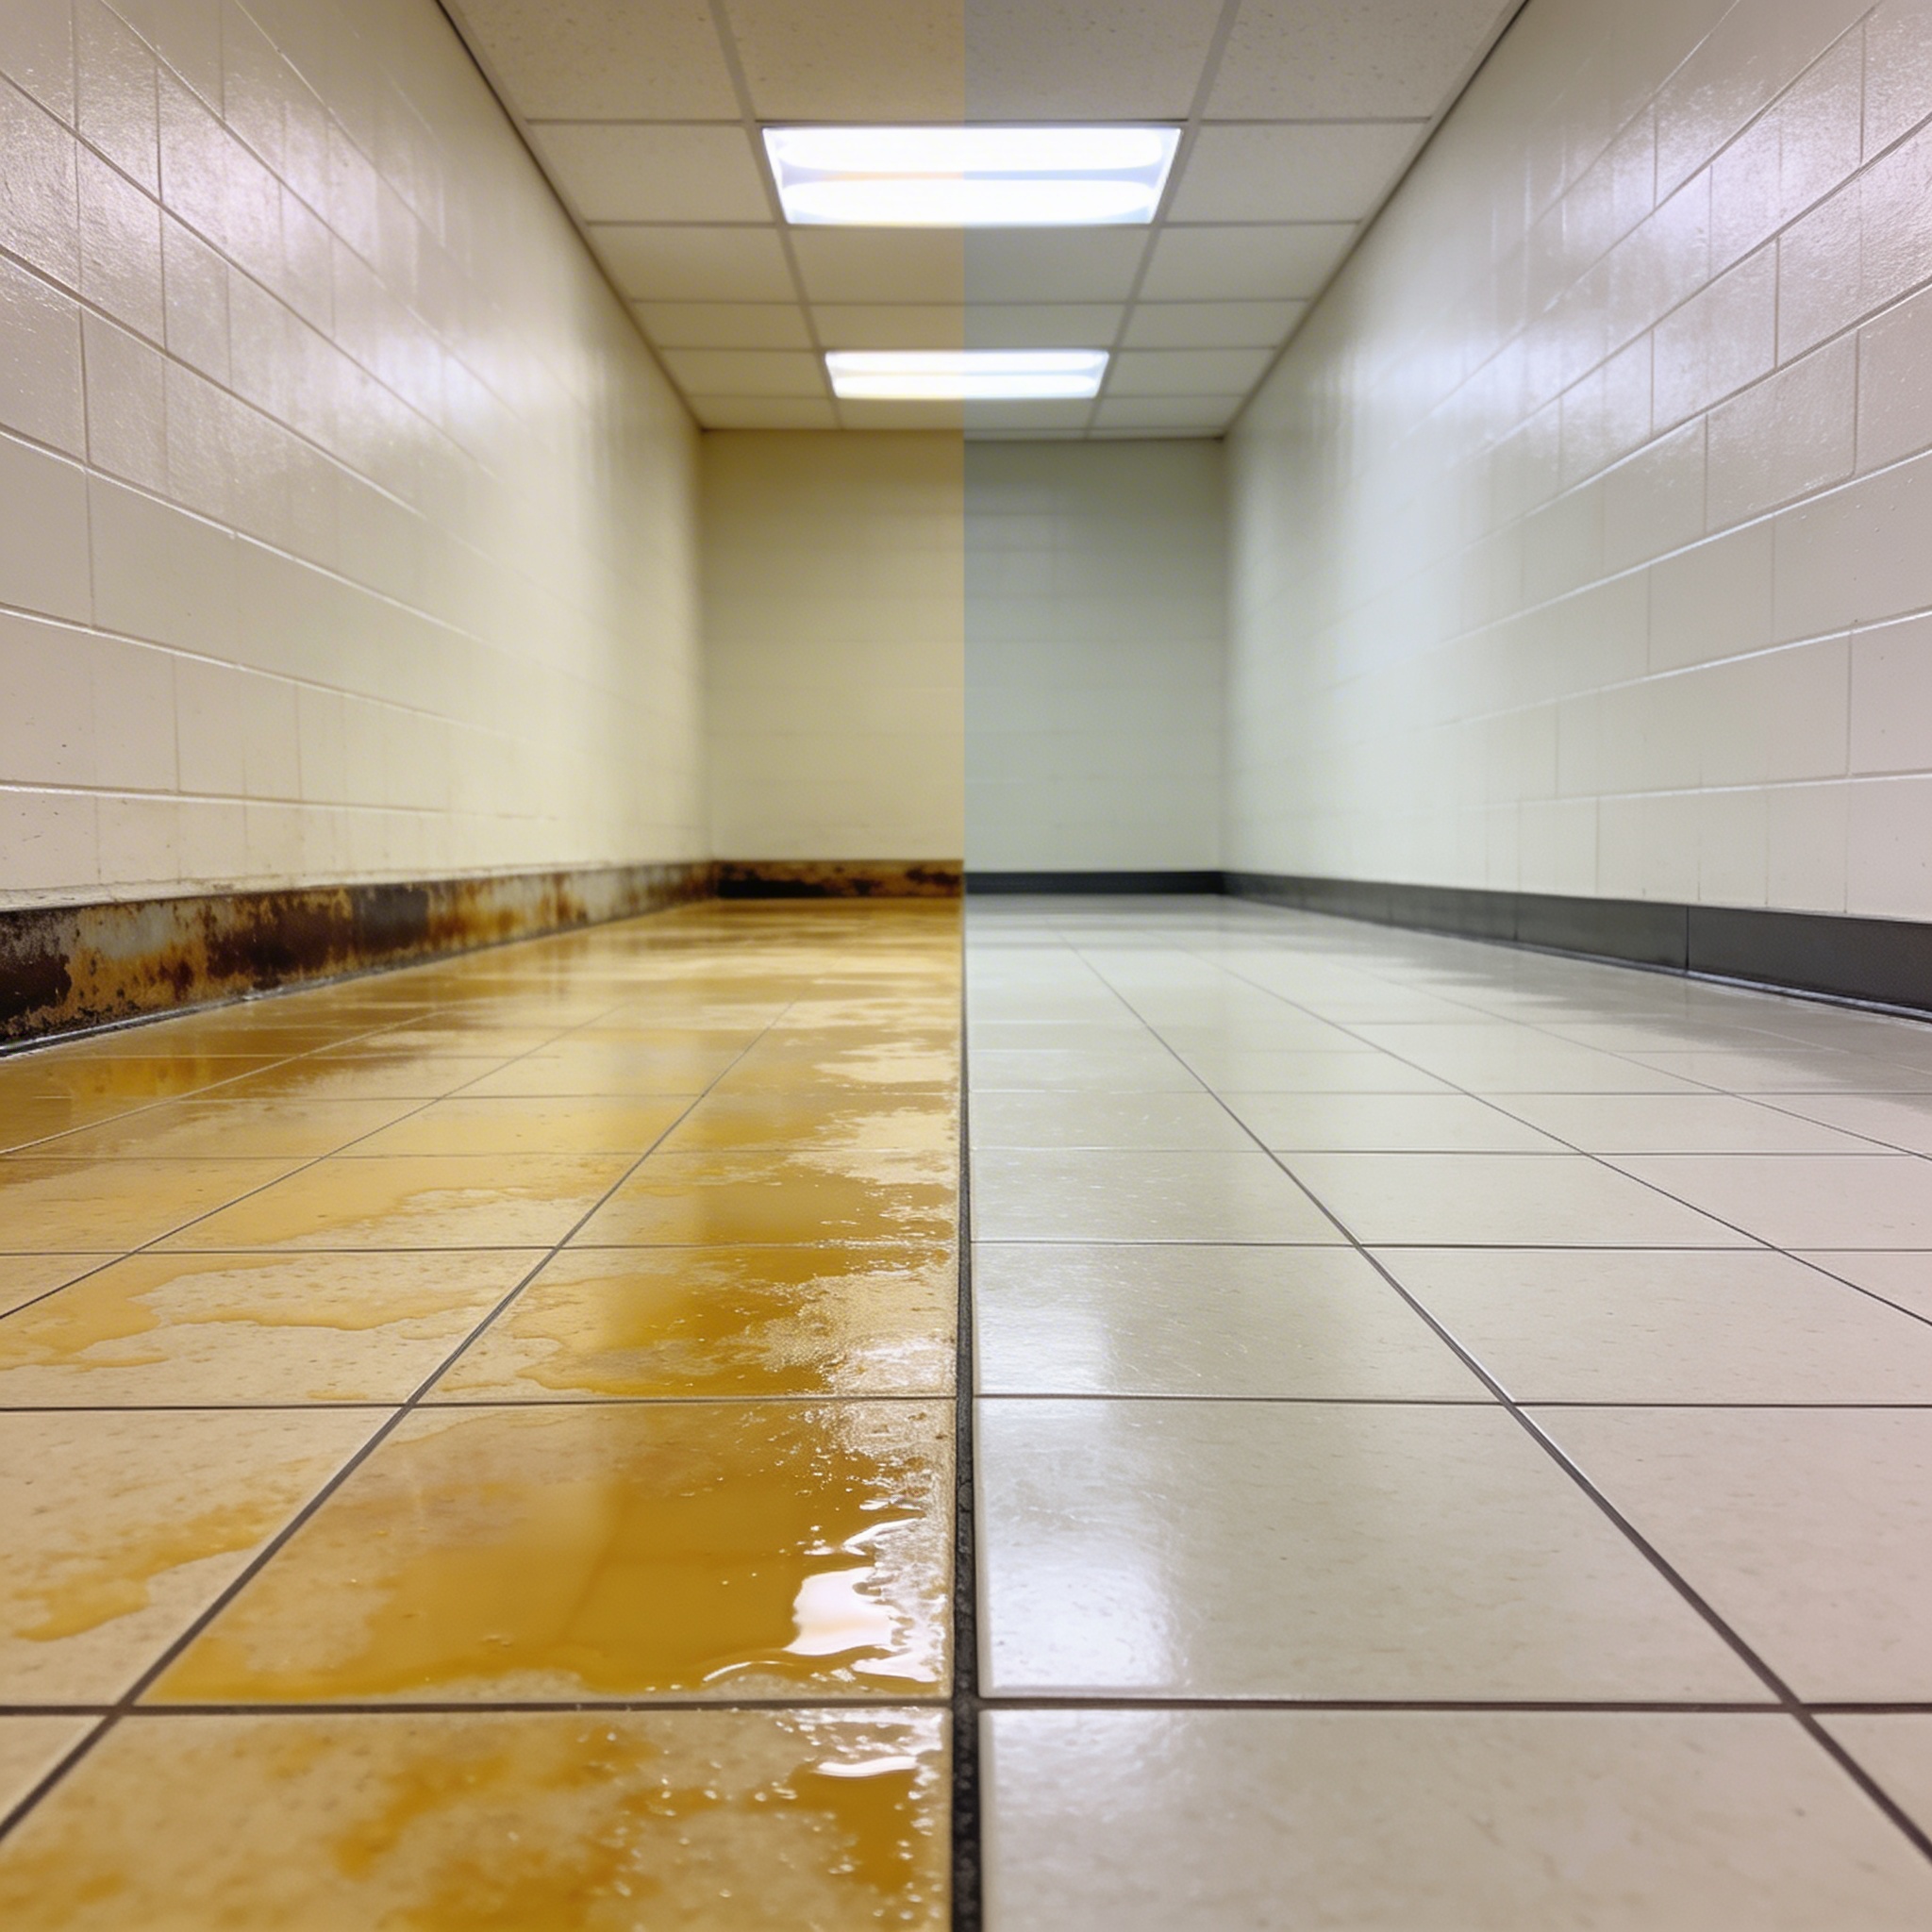
Choose a VCT scrub and recoat when the existing floor finish remains firmly bonded but needs surface renewal or additional protection. Burnish when a clean floor has enough sound finish remaining and the main problem is lost gloss. Strip and recoat when failed, contaminated, or excessive finish layers cannot provide a suitable base for new coats. Dullness alone does not justify stripping.
The first decision is whether the problem lies in removable soil, the upper finish layers, or the underlying coating system—not simply how shiny the floor looks.
| Condition after cleaning | Appropriate treatment | What the treatment does | When to change approach |
|---|---|---|---|
| Loose grit, spills, or removable soil film; finish remains intact | Routine cleaning | Removes contamination without intentionally removing the protective finish | Inspect further if traffic lanes remain dull or dirty |
| Reduced gloss or light scuffing; adequate, well-bonded finish remains | Buffing or burnishing, if supported by the finish system | Restores the appearance of the existing finish without adding a new protective layer | Consider recoating if the finish is thinning or gloss recovery is inadequate |
| Worn upper layers or surface contamination; the retained finish is sound | Scrub and recoat | Cleans and prepares the surface, then adds compatible finish | Stop if preparation exposes peeling, persistent powdering, or contamination within the retained layers |
| Widespread peeling, embedded dirt, persistent discoloration within the finish, or excessive buildup that cannot be corrected by surface preparation | Full strip and recoat | Removes the unsuitable finish system before rebuilding it | Diagnose the cause before applying replacement finish |
Manufacturer guidance distinguishes light scrubbing, deep scrubbing, gloss restoration, and complete finish removal. It does not make burnishing a substitute for replacing worn finish.
In VCT maintenance, “floor polishing” commonly refers to maintaining an applied floor finish. It is not stone grinding, marble crystallization, or polishing the tile with diamond abrasives. Product names can also be misleading: review floor wax versus floor polish, but select products by their documented application and compatibility rather than the word “wax” or “polish” alone.
Check installation records or the flooring specification to confirm that the floor is vinyl composition tile. Do not identify VCT solely by its appearance or transfer its maintenance procedure to LVT, linoleum, rubber, or natural stone.
For recently installed flooring, follow the flooring manufacturer’s restrictions on wet cleaning, machine scrubbing, and adhesive curing. Excess moisture during initial maintenance can interfere with the installation.
Record the existing finish product, previous recoat work, cleaning chemicals, and burnishing method where known. If the coating history is uncertain, request compatibility guidance and complete a representative trial area before treating the full floor.
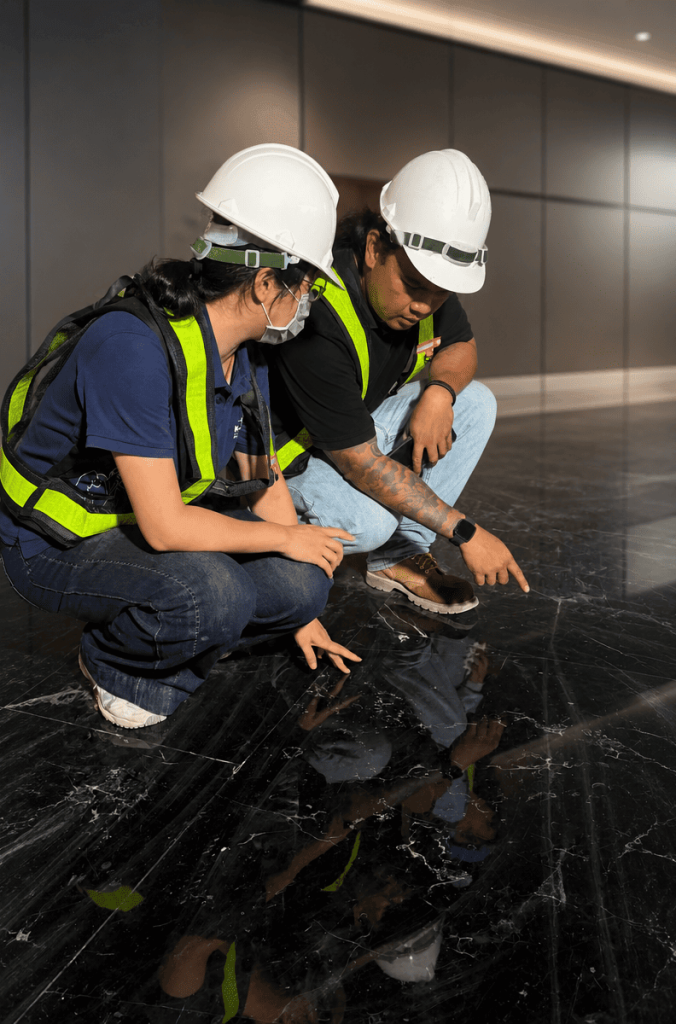
Remove loose soil and clean a representative section before deciding whether finish removal is necessary. Inspect both the traffic lane and an adjacent low-traffic area under normal lighting and low-angle light.
Look for:
These observations require diagnosis rather than an automatic recoat. Powdering, poor gloss, and tackiness can have several causes, including application conditions, chemical exposure, or an unsuitable maintenance method. Adding finish without correcting the cause can repeat the problem.
Use a small, representative area to check the cleaner, pad, machine settings, and proposed finish. Include a worn section and, where possible, a perimeter section.
After preparation and coating, inspect for visible lifting, haze, streaks, and poor bonding. A trial area helps identify problems, but it does not replace the finish manufacturer’s compatibility instructions.
Remove movable furniture and mats, protect adjacent surfaces, and provide an alternative traffic route. Use barriers and appropriate signage to prevent access during wet work and coating.
Read the cleaner and finish labels, technical data sheets, and safety data sheets before starting. Select protective equipment and ventilation according to those documents and the site’s requirements. Do not mix chemicals unless the manufacturer expressly permits it.
Dust mop or vacuum the floor, including edges and areas under movable fixtures. Remove grit before wet scrubbing so the machine does not carry abrasive debris across the finish. Dry soil removal is the first step in the manufacturer’s routine and corrective maintenance procedures.
A properly diluted, low-foam neutral cleaner suitable for finished VCT can be appropriate for routine soil removal. However, a neutral wash is not automatically sufficient preparation for every scrub-and-recoat job.
For heavier soil or contaminated upper finish layers, use the cleaner and preparation method approved for the flooring and finish system. The objective is to leave a clean, sound base—not to preserve every existing layer regardless of condition.
Select pad aggressiveness to suit the required work:
Pad colors are not a universal specification. Verify the actual pad’s intended use and the flooring manufacturer’s restrictions. For example, published VCT instructions distinguish red-pad light scrubbing from blue-pad deep scrubbing and advise against brown and black pads for that flooring system.
Use a suitable scrubber dryer or low-speed rotary machine for wet preparation. A high-speed burnisher performs a different task; see floor scrubber versus buffer.
Work in manageable sections using the approved dilution and machine settings. Make overlapping passes and manually clean corners, thresholds, and areas the machine cannot reach.
Avoid flooding the floor. Control moisture around joints and damaged tiles, and do not allow dirty solution to dry back onto the surface. Manufacturer guidance specifically cautions against excessive liquid during VCT maintenance.
If scrubbing exposes loose or peeling finish, pause the recoat plan. New finish cannot stabilize an unsound layer beneath it.
Collect the dirty solution with the scrubber’s recovery system or a wet vacuum. Check that the squeegee and recovery equipment leave no dirty trails.
Rinse with fresh, clean water as required by the preparation system, recovering the rinse water rather than allowing it to evaporate on the floor. Published VCT maintenance instructions call for rinsing and drying before additional polish is applied.
Do not treat a neutral pH reading alone as proof that the surface is ready. The floor must also be free of soil, chemical residue, and loose finish.
Allow the entire prepared area to dry before applying finish. Check edges, joints, depressions, and other locations where water can remain.
Once dry, inspect for residual marks, finish ridges, loose coating, and exposed tile. If contamination remains within the retained finish, further preparation or stripping may be necessary.
Use a finish approved for the flooring and compatible with the retained coating. Follow its instructions for application rate, number of maintenance coats, applicator type, and drying between coats.
Keep the applicator clean and apply uniform coats without puddles or heavy overlaps. Avoid repeatedly coating already overbuilt edges unless those areas require renewal. Excessive edge coating and inadequate drying between coats are recognized causes of finish problems.
A maintenance recoat is not the same as rebuilding a fully stripped floor. Do not automatically apply the full initial-coating sequence over an existing finish.
A floor that appears dry is not necessarily ready for every type of use. Establish separate release conditions for:
| Stage | What must be confirmed |
|---|---|
| Applying the next coat | The previous coat has reached the product’s specified recoating condition |
| Allowing pedestrian traffic | The final coat has met the manufacturer’s traffic-release requirements |
| Returning carts, furniture, or other concentrated loads | The finish has reached the required readiness for those loads |
| Resuming wet cleaning or burnishing | The product’s specified waiting period and maintenance conditions have been met |
| Full cure, where specified | The finish has reached the manufacturer’s stated final film-development condition |
Do not apply a universal “30 minutes between coats,” “two hours before opening,” or “burnish after 24 hours” rule. Product formulation, coat thickness, temperature, humidity, and airflow affect drying. High humidity and inadequate drying between coats are documented contributors to hazing, streaking, and other finish defects.
Applying finish over a damp surface or an insufficiently dried coat can produce an uneven or defective film. Possible symptoms include:
These symptoms do not identify a single cause. Residue, contamination, excessive coat thickness, and application conditions also require investigation. Do not cover a defective coat with more finish simply to improve its appearance.
Maintain the ventilation and environmental conditions required by the product. Avoid switching off necessary ventilation or directing strong airflow across wet coats without checking the application instructions.
Before work begins, confirm that the maintenance window includes preparation, floor drying, every coating interval, and the final release period. If the window is too short, reduce the work area or reschedule rather than shorten required drying times.
Use building type to identify likely demands, then set the recoat trigger by observed finish condition. A fixed monthly or quarterly interval should not override the floor inspection.
| Facility or zone | Conditions to monitor | Recoat planning priority |
|---|---|---|
| Offices and meeting rooms | Chair movement, doorway wear, localized scuffs, and low-traffic edge buildup | Renew worn areas without unnecessarily adding layers throughout the floor |
| Schools | Corridor grit, classroom furniture movement, entrance wear, and available closure periods | Use scheduled shutdowns when needed, but inspect wear before waiting for the next break |
| Hospitals and healthcare facilities | Continuous traffic, carts, turning zones, and exposure to cleaning or disinfecting products | Verify chemical compatibility and coordinate reopening with facility requirements |
| Retail stores | Checkout lanes, aisle intersections, stock movement, and entrance soil | Prioritize heavily used routes rather than applying one interval to every aisle |
| Restaurants and food-service areas | Grease, spills, frequent cleaning, and contamination at service transitions | Remove the relevant contamination before deciding whether finish renewal is appropriate |
| High-traffic entrances and lobbies | Tracked-in grit, moisture, black marks, and rapid wear | Strengthen soil control and inspect frequently so renewal occurs before extensive wear-through |
Review each zone after cleaning. Recoat when the finish needs renewal but still provides a sound base; delay recoating where the finish remains adequate. For broader planning, see the VCT floor maintenance schedule.
Stop repeated recoating when the remaining finish cannot support a reliable maintenance coat.
Full stripping becomes appropriate when inspection and trial preparation reveal:
Failure to recover gloss through burnishing alone is not proof that stripping is necessary. The floor may instead need corrective cleaning or a compatible recoat. Similarly, localized wear-through does not automatically require stripping the entire room; assess the surrounding coating and the extent of damage.
When complete removal is justified, follow the when to strip floor wax and polish workflow, with dilution, pad selection, dwell time, and rinsing governed by the actual flooring and chemical instructions.
If rebuilding the system raises questions about a separate base coat, review floor polish versus floor sealer. Do not assume every VCT finish requires an additional sealer.
Choose the maintenance system around four practical requirements:
KingHome lists PVC Super Wax Polish for plastic and PVC floors. That stated application makes it relevant to product evaluation, but it does not establish compatibility with every existing VCT finish or provide a universal reopening time. Confirm the intended VCT application, retained-coating compatibility, and current instructions before specifying it for a scrub-and-recoat project.
Request the current TDS and SDS, application rate, maintenance-coat guidance, burnishing requirements, and traffic-release conditions. Use the documented coverage and selected coating sequence to estimate quantities rather than relying on a generic yield per container.
Check the floor after it has reached the specified release condition:
Gloss is an appearance check, not proof of adhesion or slip performance. Do not approve early reopening solely because the floor looks shiny.
For a KingHome product assessment, provide the confirmed floor material, site photos, existing finish and its condition, floor area, traffic profile, and planned reopening time.
 English
  Spanish